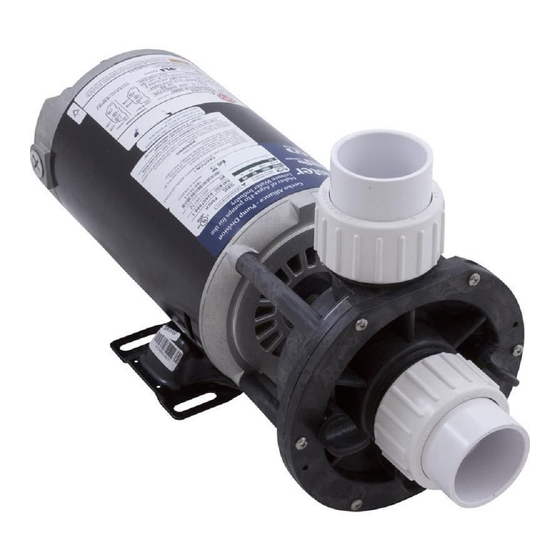
Aqua Flo Flo-Master HP Series Manual do Proprietário - Página 4
Procurar online ou descarregar pdf Manual do Proprietário para Bomba de água Aqua Flo Flo-Master HP Series. Aqua Flo Flo-Master HP Series 9 páginas.

LOW WATER FLOW:
1)
Check for clogged plumbing lines.
2)
Check for worn or damaged impeller.
3)
Check for low voltage.
4)
Check filter pressure gauge, filter may need cleaning.
WATER LEAKS:
1)
Check contamination or damage to shaft rotary seal. Replace if necessary.
2)
Check compression fittings (union connectors); make sure they are properly
aligned and secured. Hand tighten only. Do not use tools.
3)
Make sure o-rings are properly seated and not damaged.
(Impeller & Seal Replacement)
WARNING − RISK OF ELECTRIC SHOCK.
PERFORMING ANY WORK ON THE PUMP UNIT
THE SOURCE OF ELECTRICAL POWER IS OFF AT THE MAIN
JUNCTION BOX AND DISCONNECTED
TO DISASSEMBLE PUMP
CAUTION: DRAIN THE WATER FROM THE PLUMBING LINES BEFORE
DISCONNECTING THE PUMP. ALWAYS PROTECT THE MOTOR FROM
POSSIBLE WATER DAMAGE.
Removing the Suction Cover
1.
Remove the cover by removing the screws securing the cover to the volute
(casing). These screws are located at the perimeter of the cover.
2.
Note the orientation of the loose wear ring on the impeller hub before
disassembling.
Removing the Impeller
3.
Hold the motor shaft from rotating by using a needle nose 'vise grip' or pliers to
hold the shaft at the opening between the motor face and impeller sleeve.
CAUTION: DO NOT GRIP IMPELLER SLEEVE.
4.
Turn the impeller counter clockwise until it is completely free from the motor shaft
thread.
Removing the Volute (Casing) from the Motor
5.
Unscrew the four screws securing the four legs of the volute to the motor. These
bolts extend through the entire length of the motor into the 4 legs of the volute.
6.
When the four legs of the volute are completely disengaged from all screws,
carefully slide the volute off of the motor shaft.
Inspecting the Seal
7.
Carefully examine the surfaces of the carbon disk (black rigid part of seal rotating
assembly, mounted on impeller) and the white ceramic ring (at seal stationary
assembly on the volute) for edge chipping, surface scratches, or uneven wear.
The surfaces should be smooth and free from damage.
ASSEMBLY INSTRUCTION
4
B
EFORE
,
BE CERTAIN THAT
