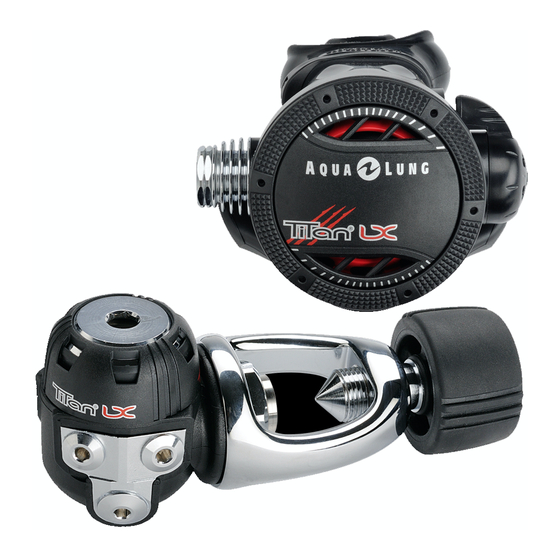
Aqua Lung Titan Manual de serviço - Página 8
Procurar online ou descarregar pdf Manual de serviço para Controlador Aqua Lung Titan. Aqua Lung Titan 19 páginas. Second stage
Também para Aqua Lung Titan: Boletim Técnico (4 páginas), Manual de manutenção (20 páginas)

8
16 . Fit the valve cover (5) :
Position the two lugs on the casing in the 2 square holes on
the cover, then clip the tongue in place.
17. Fit the washer (10) onto the diaphragm (11) and place
the assembly into the casing.
18. Fit the cover onto the casing, starting from the hose side.
19. Check that the cover is correctly fitted to the casing.
Fit the mouthpiece (3), then the mouthpiece strap (2)
Service manual Calypso second stage
Refit and tighten the MP hose using a 11/16 spanner.
FINAL CHECKS
1. Put the regulator under pressure with a 200 bar (±10
bar) supply.
Note: Tests 2,3 and 4 require the use
of a Regulator Test bench.
2. Opening effort check. Apply an increasing inhalation
flow. When the MP starts to fall, note the effort reading and
compare it with the limits shown on Table 5. Checking
specifications.
2.1 If the opening effort is too low, disassemble the second
stage to gain access to the lever : follow steps 4 to 7.
Screw in the adjustable seat (21) 1/2 turn using a
screwdriver.
Readjust the lever height, see step 14, then
reassemble the second stage from step 15 to the end.
2.2 If the opening effort is too high, , disassemble the
second stage to gain access to the lever : follow steps 4 to
7. Unscrew the adjustable seat (21) 1/2 turn using a
screwdriver.
Do not unscrew the adjustable seat more than
a half turn, relative to the adjustment made
using tool 125727 in step 4.
Readjust the lever height, see step 14, then
reassemble the second stage from step 15 to the end.
3.Flow/effort test . Apply an inhalation flow of 400 l/min
and check that the effort does not exceed 15 mbar. If
the effort exceeds this then check Table 1.
Troubleshooting Guide.
4.Leak test. Connect the first stage to a cylinder charged
to 200 bar, open the cylinder valve and immerse the set in
a fresh water bath for one minute. Check that there are no
leaks. If a leak is detected, disassemble the entire 2
stage; check all sealing surfaces and the correct
positioning of all parts.
END OF REASSEMBLY
nd
