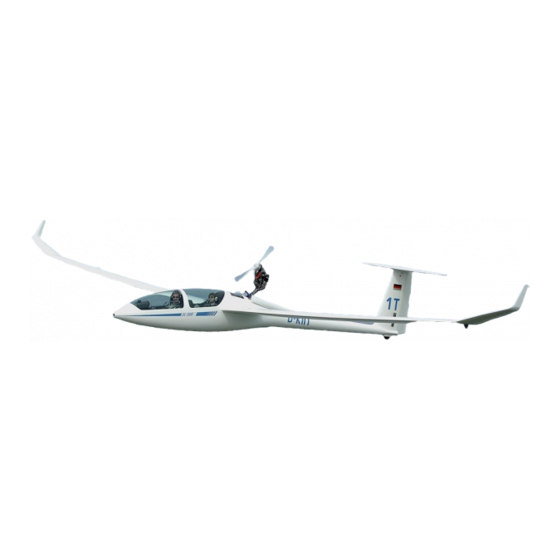
DG Flugzeugbau DG-1000T Manual de manutenção - Página 10
Procurar online ou descarregar pdf Manual de manutenção para Aeronaves DG Flugzeugbau DG-1000T. DG Flugzeugbau DG-1000T 10 páginas. & motorglider
Também para DG Flugzeugbau DG-1000T: Manual de reparação (16 páginas)

Enclosure 3 for maintenance manual DG-1000T
Securing the terminal nipples
Use lock wire with min. 0.8 mm diameter.
The lock wire is necessary to prevent the
connection from inadvertent opening.
12. Reinstall all parts. The clamp at the front cylinder must contact the lower flange of the
cylinder.
II. Replacing of components of the hydraulic system
Instructions:
II.1
Replacing a cylinder
Necessary material and tools:
• see I
• Hydraulic cylinder: JOUCOMATIC 43850028-0050
• 2 pieces of Polyamid PA6 tube 6 x 1 (outside dia. x wall thickness), approx. 0.5 m long
Instructions:
1. Perform steps 1 and 2 of I.
2. Remove the lines from the defective cylinder. To accomplish this press in the black securing
rings into the terminal nipples . Empty the cylinder into a container. Remove the terminal
nipples from the cylinder.
3. Screw the terminal nipples into the new cylinder and tighten firmly.
4. Fill the new cylinder. To accomplish this fill a Polyamid PA6 tube 6 x1 approx. 0.5 m long
via a syringe with hydraulic fluid. Move the cylinder into position 2
Connect the tube to the front terminal (rear cylinder) resp. the upper terminal (front cylinder).
Insert the other end of the tube into a container with hydraulic fluid and move the cylinder to
position 1.
5. Fill the second Polyamid PA6 tube with hydraulic fluid and connect it to the other terminal
nipple of the cylinder. Insert also the other end of the tube into a container with hydraulic
fluid.
6. Place the cylinder below the container and move the piston rod several times until no air
bubbles come out of the cylinder.
7. Remove the lines.
8. Connect lines 1 and 2 to the cylinder and perform steps 3 up to 12 of I
II.2
Replacing a line
Necessary material and tools:
• see I
• Hydraulic line: Polyamid PA6 tube 6 x 1 (outside dia. x wall thickness), approx. 1,80 m long
• Tape
Instructions:
1. Perform steps 1 and 2 of I.
2. Remove the defective line from both cylinders. Pull out the hydraulic fluid with a 50 ml
syringe.
3. Fix the new line to the defective line with tape. Pull out the defective line while pushing in the
new line at the same time. Remove the defective line.
4. Fill the new line via a 50 ml syringe with hydraulic fluid.
5. Reconnect the line to the cylinders and perform steps 3 up to 12 of I.
Issued: March 2008
TN1000/15
page 2 of 2
