Dell E5400 - Latitude - Core 2 Duo 2.4 GHz Manual de serviço - Página 42

Procurar online ou descarregar pdf Manual de serviço para Computador portátil Dell E5400 - Latitude - Core 2 Duo 2.4 GHz. Dell E5400 - Latitude - Core 2 Duo 2.4 GHz 43 páginas. Latitude ultrabook series; e-family series; mobile precision series
Também para Dell E5400 - Latitude - Core 2 Duo 2.4 GHz: How-To Manual (38 páginas), Manual do produto (39 páginas), Especificações (2 páginas), Informações sobre a configuração e as características (10 páginas), How-To Manual (32 páginas), Substituição da placa de sistema (4 páginas), How-To Manual (34 páginas), How-To Manual (46 páginas), Manual (46 páginas), How-To Manual (46 páginas)
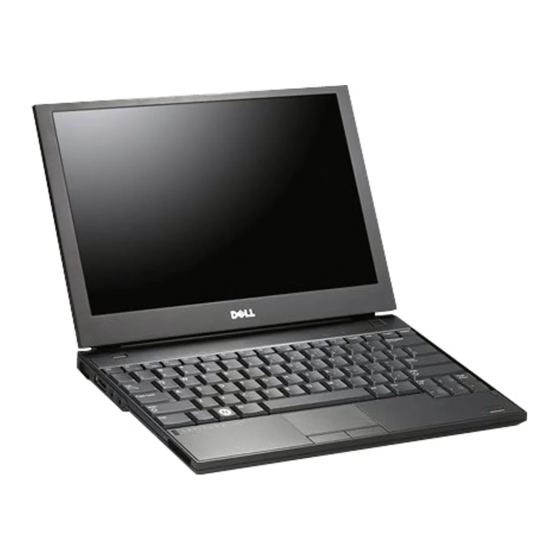
Dell E5400 - Latitude - Core 2 Duo 2.4 GHz Manual de serviço
In Windows Vista®:
l
Click Start
, then click the arrow in the lower-right corner of the Start menu as shown below, and then click Shut Down.
In Windows® XP:
l
Click Start® Turn Off Computer® Turn Off.
The computer turns off after the operating system shutdown process is complete.
2. Ensure that the computer and all attached devices are turned off. If your computer and attached devices did not automatically turn off when you shut
down your operating system, press and hold the power button for about 4 seconds to turn them off.

After Working Inside Your Computer

After you complete any replacement procedure, ensure you connect any external devices, cards, and cables before turning on your computer.
CAUTION:
To avoid damage to the computer, use only the battery designed for this particular Dell computer. Do not use batteries designed for
other Dell computers.
1. Connect any external devices, such as a port replicator, battery slice, or media base, and replace any cards, such as an ExpressCard.
2. Connect any telephone or network cables to your computer.
CAUTION:
To connect a network cable, first plug the cable into the network device and then plug it into the computer.
3. Replace the battery.
4. Connect your computer and all attached devices to their electrical outlets.
5. Turn on your computer.
Back to Contents Page