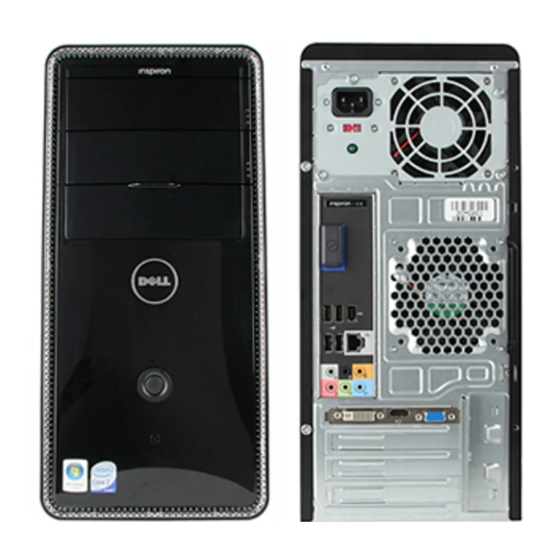
Dell Inspiron 519 Manual de serviço - Página 18
Procurar online ou descarregar pdf Manual de serviço para Computador portátil Dell Inspiron 519. Dell Inspiron 519 38 páginas.
Também para Dell Inspiron 519: Manual de serviço (38 páginas)

Back to Contents Page
Replacing Fans
Dell™ Inspiron™ 518/519 Service Manual
Replacing the Chassis Fan
Replacing the Processor Fan and Heat Sink Assembly
CAUTION:
Before working inside your computer, read the safety information that shipped with your computer. For additional safety best
practices information, see the Regulatory Compliance Homepage at www.dell.com/regulatory_compliance.
CAUTION:
To guard against likelihood of electric shock, laceration by moving fan blades or other unexpected injuries, always unplug your
computer from the electrical outlet before removing the cover.
Replacing the Chassis Fan
NOTICE:
Do not touch the fan blades when you are removing the chassis fan. This could damage the fan.
1 screws (4) 2 chassis fan
1. Follow the procedures in
Before You
2. Remove the computer cover (see
3. Disconnect the chassis fan cable from the system board connector (CHASSIS_FAN).
4. Remove the four screws securing the chassis fan.
5. Slide the chassis fan towards the front of the computer and lift it up.
6. To install the chassis fan, slide it in place towards the back of the computer.
7. Tighten the four screws to secure the chassis fan.
8. Connect the chassis fan cable to the system board connector (CHASSIS_FAN).
9. Replace the computer cover (see
Replacing the Processor Fan and Heat Sink Assembly
CAUTION:
Despite having a plastic shield, the heat sink fan assembly may be very hot during normal operation. Be sure that it has had sufficient
time to cool before you touch it.
NOTICE:
Do not touch the fan blades when you are removing the processor fan and heat sink assembly. This could damage the fan.
NOTICE:
The processor fan with the heat sink is one single unit. Do not try to remove the fan separately.
1. Follow the procedures in
Before You
2. Remove the computer cover (see
Begin.
Removing the Computer
Cover).
Replacing the Computer
Cover).
Begin.
Removing the Computer
Cover).
