Dell Inspiron 600m Instalação e configuração - Página 14

Procurar online ou descarregar pdf Instalação e configuração para Computador portátil Dell Inspiron 600m. Dell Inspiron 600m 38 páginas. Hard drive
Também para Dell Inspiron 600m: Começar aqui (2 páginas), Começar aqui (2 páginas), Começar aqui (2 páginas), Manual de iniciação (2 páginas), Manual do utilizador (34 páginas), Manual de configuração (2 páginas), Começar a trabalhar (2 páginas), Manual de configuração (2 páginas), Manual de configuração (2 páginas), Manual de configuração (2 páginas), Manual de configuração (2 páginas), Manual de configuração (2 páginas), Manual de configuração (2 páginas), Manual de configuração (2 páginas), Manual de serviço (41 páginas), Manual do utilizador da base multimédia (26 páginas), Manual de serviço (40 páginas), Manual de serviço (41 páginas), Início rápido (2 páginas), Início rápido (2 páginas), Início rápido (2 páginas), Configurar o computador (2 páginas), Manual de serviço (41 páginas), Manual de serviço (4 páginas)
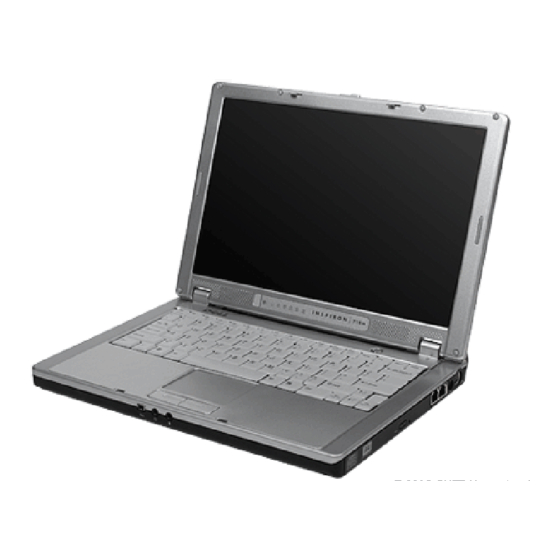
Dell Inspiron 600m Instalação e configuração
Save and close any open files, exit any open
2
programs, and then shut down the computer.
If the computer is connected to a docking device
3
(docked), undock it. See the documentation that
came with your docking device for instructions.
Disconnect the computer from the electrical
4
outlet.
Wait 10 to 20 seconds, and then disconnect any
5
attached devices.
Remove any installed PC Cards and the battery.
6
NOTICE: Handle components and cards by their edges,
and avoid touching pins and contacts. Ground yourself by
touching a metal connector on the back of the computer.
Continue to ground yourself periodically during this
procedure.
Open the display approximately 180 degrees.
7
Use a small flat-blade screwdriver or plastic scribe
8
to lift the notched right edge of the center control
cover, and pry the cover loose from the bottom
case.
Remove the two screws from the top of the
9
keyboard.
Use the pull-tab to pull the keyboard up and out
10
(toward the display) of the bottom case.
18
Installing and Configuring the Mini PCI Card