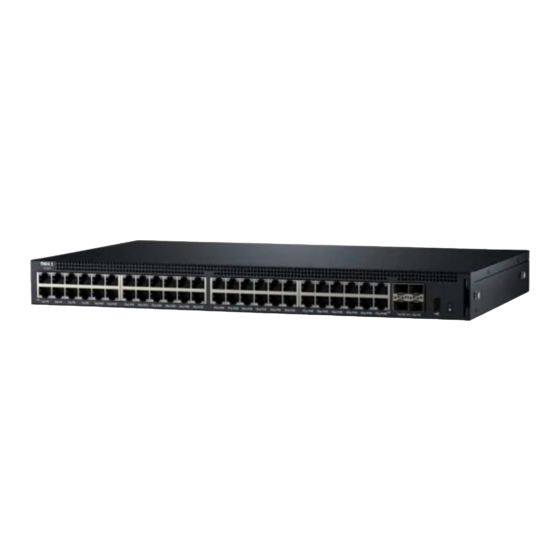
Dell Networking X1052 Manual de iniciação - Página 10
Procurar online ou descarregar pdf Manual de iniciação para Interruptor Dell Networking X1052. Dell Networking X1052 43 páginas.

2 Connect the switch to a PC using Ethernet, and set a static IP address
of 192.168.2.x (where x is between 2 and 254) and subnet mask of
255.255.255.0 on the PC. Note that the switch acts as a DHCP client
and can receive its IP address from a DHCP server. If using DHCP for IP
assignment, look up the assigned IP address and use it for the next step.
3 Connect to the switch using the default switch IP address 192.168.2.1 in
your web browser. The login username is admin with password admin.
4 After logging into the switch using the previous step, a getting started wizard
is available to guide the user through the initial switch configuration.
Applied changes are automatically saved to the startup configuration.
CLI Access
To access the switch using the Command Line Interface (CLI), it must be in
Managed Mode. The Command Line Interface can only be reached by using
telnet or a console connection. See the user guide for limited CLI options.
NOTE:
The default switch setting is Unmanaged Mode. To set the switch to
Managed Mode, press the Mode button for at least seven seconds.
Connecting the Switch to a Terminal Server/PC
NOTE:
The console port enables connecting to a terminal or desktop system
running terminal emulation software for monitoring or debugging the device
using the micro-USB port. (You can find the USB drivers at dell.com/support.)
To use the console port, the following is required (e.g., PuTTY, TeraTerm, etc.)
•
VT100 compatible terminal or a desktop or portable system with a USB
port and running VT100 terminal emulation software.
To connect a terminal to the device console port, verify that the terminal
emulation software is set as follows:
1 Set the data rate to 9600 baud, data format to 8 data bits, 1 stop bit and
no parity.
2 Set flow control to none.
3 Select VT100 for Emulation mode.
8
Getting Started Guide
