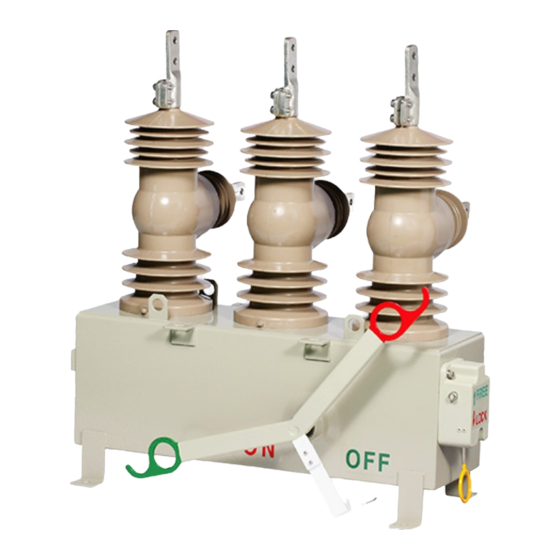
Entec LBS-751 Manual de início rápido - Página 2
Procurar online ou descarregar pdf Manual de início rápido para Interruptor Entec LBS-751. Entec LBS-751 12 páginas. Electronic sectionalizer control

Quick Start Guide
LBS-751 Control
ENTEC is packaging a new Sectionalizer Control with our Load Break Switch (LBS) featuring an
SEL-751 relay, innovative smart-logic and patent pending technology. Known as LBS-751, this
new unit expands traditional sectionalizer applications and modernizes power system protection.
With three simple setpoints the factory program is push-button-ready. Let's get started.
Important Documents Inside Cabinet
LBS Routine Test Record
SEL Production Test Report
User Manual
Product Guide
Quick Start
Flash Stick with Factory Docs, acSELerator Application and RDB Template
Computer Setup
1. Copy factory docs, acSELerator Setup file, and RDB from flash stick to laptop. Rename
RDB as desired.
2. Stow away flash stick in a safe place.
3. Install acSELerator using v6.7.0.1 Setup file included. This loads the application and
latest 751 driver.
(acSELerator and drivers also available online at www.selinc.com)
4. Set comm parameters on laptop:
5. Open acSELerator and go to Tools>Options>Settings
Check the checkbox to enable "Prompt for Action on Settings Read"
751 Setup
6. Choose RDB: click Open, use tool at end of selection box to navigate and open RDB
Template then click Cancel to close window.
7. Connect to 751 with standard ethernet cable. Set IP on communications configuration in
acSELerator to 192.168.1.2.
8. Select "Read From" and enter Level-One password when prompted: OTTER
9. Read prompt will pop-up with options. Select "Open Settings with Editor".
10. Save settings as OEM file, name as desired (e.g. "Customer Field Device OEM").
11. Re-Read from 751 a second time. When prompt window appears make sure to select
(highlight) "LBS-751 SVN-007 Template" and then select option to merge from relay
template. When template view appears save file as "LBS-751 SVN-007 Template v1.0"
12. Program setpoints, save and send to 751.
Phase Pickup, Ground Pickup, Operations. Enter relay name if desired
13. Set Time and Date:
Scada Setup
14. See APPENDIX 2
Congratulations ... All Done
For Step-By-Step acSELerator installation see APPENDIX 1.
IP
Subnet
Gateway
use HMI => Control Window while connected 751
2
192.168.1.10
255.255.255.0
192.168.1.1
www.Entec-USA.com
