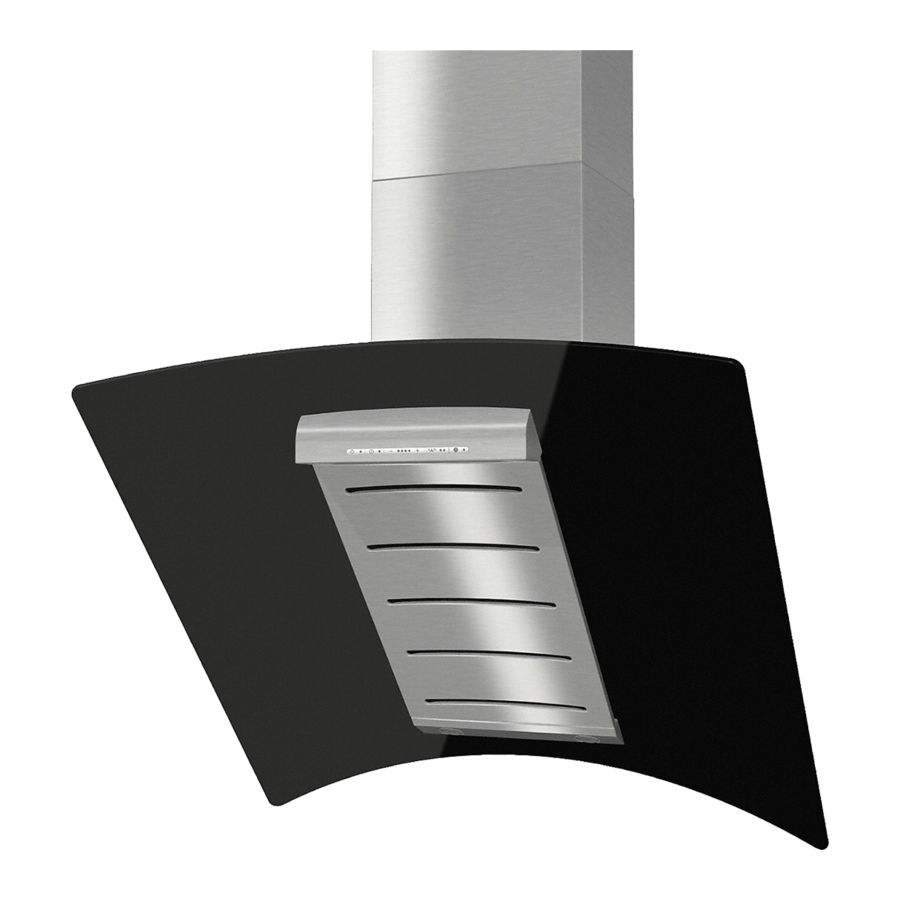
Miele DA 289-4 EXT Manual de operação e instalação - Página 21
Procurar online ou descarregar pdf Manual de operação e instalação para Campânula de ventilação Miele DA 289-4 EXT. Miele DA 289-4 EXT 40 páginas. Cooker
Também para Miele DA 289-4 EXT: Instruções de utilização e de instalação (36 páginas)

,
Before carrying out any cleaning
or maintenance work, disconnect
the cooker hood from the mains
supply.
,
Halogen lamps get very hot
during use and remain hot for some
time after being switched off. The
hot lamps are also susceptible to
damage from damp cleaning. Wait a
few minutes after switching off
before commencing cleaning.
Miele branded cleaning and
conditioning agents are available to
order through your Miele Dealer /
Chartered Agent, the Miele Spare Parts
Department, or via the internet on
www.miele-shop.com.
Housing
General notes
The surfaces and controls are
susceptible to scratches and
abrasions. Please observe the
following cleaning instructions.
^ All external surfaces and controls can
be cleaned using a Miele E-Cloth, or
with warm water and a little
washing-up liquid applied with a well
wrung-out soft sponge or cloth.
^ Wipe the surfaces dry using a soft
cloth.
Cleaning and care
Do not use too much water when
cleaning the controls. Water could
penetrate into the electronics and
cause damage.
Do not use:
– cleaning agents containing soda,
acids, chlorides or solvents,
– abrasive cleaning agents e.g.
powder cleaners or cream cleaners,
and abrasive sponges, e.g. pot
scourers or sponges which have
been previously used with abrasive
cleaning agents. These will damage
the surface material.
Important for appliances with
stainless steel housing
(This infomation does not apply to the
controls).
Stainless steel surfaces can be cleaned
using the Miele E-Cloth, or with a
proprietary non-abrasive cleaning
agent designed specifically for use on
stainless steel.
To help prevent re-soiling, a proprietary
conditioning agent for stainless steel
can also be used. Follow the
manufacturer's instructions, and apply
sparingly with an even pressure in the
direction of the "grain".
21
