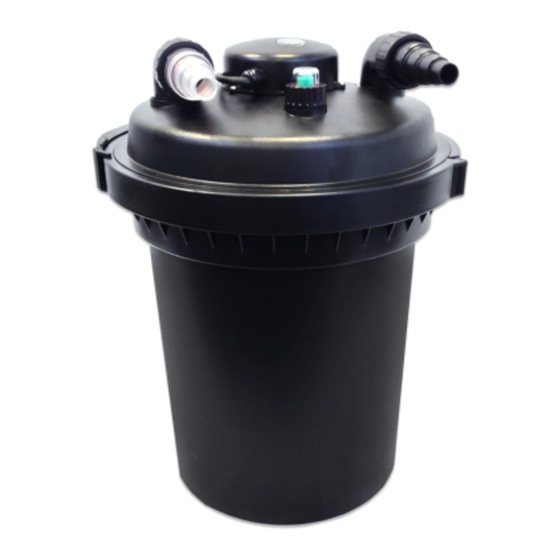
AllPondSolutions PF-12000 Manual - Página 13
Procurar online ou descarregar pdf Manual para Sistemas de filtragem de água AllPondSolutions PF-12000. AllPondSolutions PF-12000 19 páginas. Pressurised pond filter, bio-mechanical filtration, built in steriliser, large filter volume, pressurised closed system, simple user friendly operation

TROUBLESHOOTING
UV Indicator is not Lighting Up
If the UV indicator on the top of the filter lid is not lighting up follow these
troubleshooting steps:
1. If you find that the UV light is not operational, check that you have power
from the mains supply.
3. If you do have power from the mains supply, clean the UV indicator. Check if
you can see the UV is operational through the
viewing hole on top of the unit. If you aren't able to
see it, try performing a safety override. Locate the
safety override switch on the ballast end next to
the UV bulb fitting (as shown in the image on the
right).
IMPORTANT!
NEVER look directly at the UV light.
Press and hold the small thin silver switch when
the power is on and the bulb should ignite. Please
test in a dark/ shadowed place and do not look directly at the bulb – we
recommend covering the bulb with kitchen roll or similar. You should still be
able to see the glow of the bulb through this.
4. If the above does not solve the issue replace the UV bulb.
5. Please check for signs of damage or water ingress to quartz sleeve and bulb
area. You might need to replace your quartz sleeve and/or O-Ring if that's the
case.
6. If you find that the UV light is still not operational after the bulb replacement,
the UV ballast may have developed a fault and you will need to contact the
supplier of your unit to obtain replacement parts.
Please remember that UV bulbs for use in ponds should be replaced every 12
months.
Slow Flow Rate
1. Rinse unit's foams making sure they are free of debris.
2. Ensure that the inlet hose connecter has been cut correctly to size, if not
this will restrict the flow from the pump into the filter.
3. Ensure that the inlet hose is not kinked or crushed.
