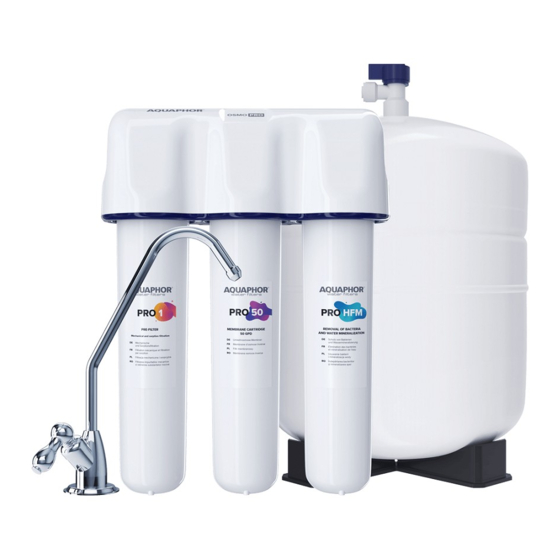
AQUAPHOR OSMO PRO 50 Manual - Página 9
Procurar online ou descarregar pdf Manual para Sistemas de filtragem de água AQUAPHOR OSMO PRO 50. AQUAPHOR OSMO PRO 50 16 páginas.

Preparation for work
Flushing OSMO PRO
At the last stage of the preparation of premium
drinking water in OSMO Pro, a natural mineral
is used, which enriches the purified water with
useful substances. Since this mineral is quite frag-
ile, dust may form during transportation, which
must be washed off the first time you start the
water purifier.
...........................................................................................
NOTE: It will take about 5 hours to fully flush the
water purifier (cartridges and tank). The duration
of the flush depends on the pressure, water tem-
perature and membrane performance.
ATTENTION! Make sure the cartridges are posi-
tioned correctly before flushing. The positioning
of the cartridges in the water purifier is indicated
on the Water purifier installation diagram. Make
sure the flush plug is installed in the middle slot.
...........................................................................................
• Close the tap (20) on the storage tank (the
tap flag must be turned perpendicular to the
outlet tube).
• Open the inlet tap on the connection unit (23)
and clean water tap (7).
• Drain the water passing through the OSMO Pro
within 10 minutes.
• Close the inlet and clean water tap.
• Install a membrane cartridge in the middle slot
of the housing instead of the flush plug.
• Open the inlet tap on the connection unit, the
storage tank tap and the clean water tap.
• Drain the OSMO Pro for 1 hour.
• Close the clean water tap.
• Make sure the OSMO Pro connections are tight.
Flushing the storage tank
The procedure for filling the tank twice will take
no longer than 3 hours.
• Close the tap (20) on the storage tank (the
tap flag must be turned perpendicular to the
outgoing tube) and open the inlet tap on the
connection unit (23).
• Open the clean water tap (7). After the water
starts dripping from the tap of clean water, close
it and open the tap of the storage tank – the
tank will begin to fill.
• Make sure there are no leaks; tighten the con-
nections if necessary.
• After filling the storage tank (when water stops
flowing from the drain tube (16), open the clean
water tap and wait until all the water flows out
of the storage tank (water will start to flow out
of the tap very slowly; this is not a malfunction
of the water purifier).
• Re-fill and drain the water storage tank.
• Make sure the OSMO Pro connections are tight.
• After filling the tank for the third time, the OSMO
Pro is ready for use.
...........................................................................................
ATTENTION! The water that was obtained from
the first and second filling of the tank is not
drinkable.
ATTENTION! Check the OSMO Pro daily for leaks
during the first week of use.
NOTES. During the first week of OSMO Pro oper-
ation, when switching the automatic valve, there
may be noise associated with the release of air
from the internal cavities of the water purifier.
This is not a malfunction.
...........................................................................................
During initial operation of OSMO Pro, the color of
the water can be milky due to small air bubbles
being forced out of the system.
10 minutes
1 hour
9
