AquaScape 78224 Instruções e manutenção - Página 5
Procurar online ou descarregar pdf Instruções e manutenção para Fonte exterior AquaScape 78224. AquaScape 78224 12 páginas.
Também para AquaScape 78224: Instruções e manutenção (6 páginas)

• When installing multiple pieces on the basin,
one or more deck cylinders may need to be
drilled to run plumbing directly to each piece.
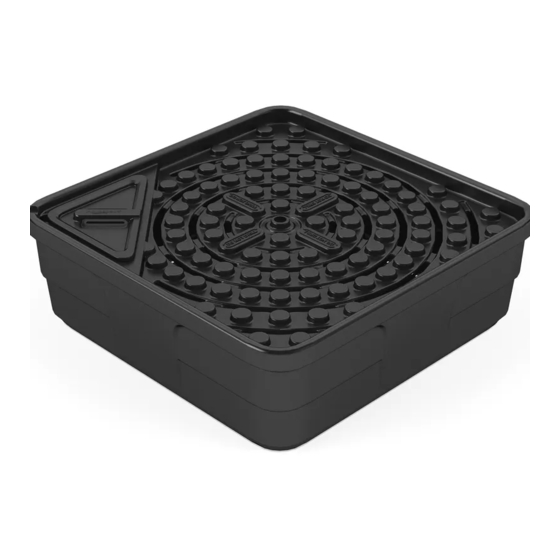
NOTE: The deck of the AquaBasin
divided into two zones: the pump and
plumbing zone and the weight bearing zone
(Ex. 6). Internal structural supports throughout
the inside of the AquaBasin
maximize deck strength in the weight
bearing zone while creating space for pump
and plumbing access in the pump and
plumbing zone. Position larger or heavier
fountains in the space designated to support
maximum weight capacities. This will help to
prevent bowing or damage to the basin. Note
that lighter fountains, gravel, and smaller rocks
can be placed in the pump and plumbing
zone.
Pump and
Plumbing Zone
Weight Bearing
Zone
• Determine the desired location of each
fountain piece and identify which deck
cylinders need to be drilled. Then, using a
spade bit or hole saw, drill a hole for each
plumbing line (Ex. 7).
NOTE: DO NOT modify areas labeled "DO
NOT DRILL."
• Carefully place the selected fountain(s) on
the basin with plumbing running through the
drilled cylinder(s) (Ex. 8).
☎
US (866) 877-6637 |
45 is
®
are designed to
®
Internal Support
Ex. 6
Ex. 7
☎
CAN (866) 766-3426 | aquascapeinc.com
• Level the decorative fountain piece(s) from
side-to-side and from front-to-back. If not
level, water may not flow out of the fountain
evenly, leading to water splashing out of the
basin.
• Place the pump in the basin and connect
the plumbing to the pump. The plumbing
should fit snug to create a watertight seal. If
the plumbing fits loosely, a hose clamp (not
included) can be used to secure the
attachment (Ex. 9).
NOTE: Aquascape Ultra
include a single or three-way valve to simplify
plumbing assembly and flow control (Ex. 9).
• Run the pump cord out through the access
panel, using the built-in cord relief at the
corner.
• Internal plumbing support allows plumbing
to sit below the deck as it travels to the
fountain(s) (Ex. 10).
Ex. 8
Water Pumps
®
Ex. 9
Ex. 10
5
