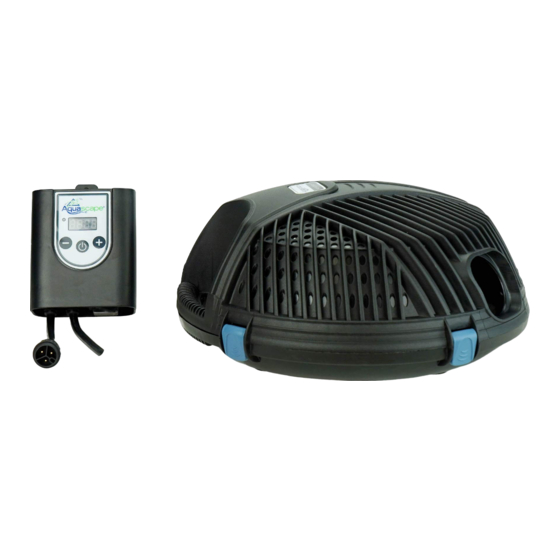
AquaScape 91104 Instruções e manutenção - Página 5
Procurar online ou descarregar pdf Instruções e manutenção para Bombas para lagos AquaScape 91104. AquaScape 91104 20 páginas. Adjustable flow solids-handling pond pump
Também para AquaScape 91104: Instrução e manutenção (9 páginas), Instrução e manutenção (16 páginas)

• The threaded collar, on all of the fittings, enables the
AquaForce pump to be installed and removed without the
need for any tools (Ex 3).
NOTE: Do not use tools to install the fittings to the pump
discharge. Fittings need to be only hand-tight.
• The extremely versatile rotational ball outlet provides you
with the ability to adjust the pump discharge to the perfect
position required by your water feature. Loosening the
threaded collar allows you to rotate the upper half of the
ball (Ex. 4). A flat rubber washer seal is included to ensure
a leak-free connection. Make sure the flat rubber washer is
in place before installing the fittings (Ex. 5).
Ex. 4
• Install the right sized multi-hose adapter based on the
diameter of the tubing you are using.
• If using a pipe diameter larger than the smallest section
of the multi-hose adapter, trim off the smaller sections to
avoid flow restriction (Ex. 6).
Hosetail ready for 1" tubing
Hosetail ready for 1½" tubing
CUT
HERE
• In some instances the tubing may be tight and difficult to
connect to the fitting. If this is the case, we recommend
heating the hose with a hair dryer or dipping the hose
☎
aquascapeinc.com |
CAN (866) 766-3426 |
Ex. 3
Ex. 5
Hosetail ready for 1¼" tubing
CUT
HERE
Installation of stainless
steel hose clamp
stainless steel
hose clamp
KINK-FREE
TUBING
Ex. 6
☎
US (866) 877-6637
in very hot water. Lubrication can also be used; we
recommend silicone grease or olive oil. Put the fitting on
the filter before attaching the tubing/hose. Once the fitting
is in place, attach the tubing/hose onto the fitting with a
twisting motion.
• Attach tubing to the fitting.
If tubing is loose on fitting,
use a hose clamp (not
included) to secure tubing
into the fitting (Ex. 7).
• Connect the other end
of the pump tubing to
the pond filter, such as a
biological filter, waterfall
spillway, or pressurized filter.
Smart Control Receiver Setup
• Mount the receiver above the ground on a post, fence,
or wall.
• Connect the pump to the Smart Control Receiver.
• Plug the Smart Control Receiver into an outdoor-rated
GFCI, and the unit will automatically enter pairing mode
(Ex. 8).
NOTE: The blinking blue light on the face of the unit
indicates the receiver is in pairing mode and ready to be
connected.
• Download the Aquascape Smart Control App (available on
iOS or Android App Store).
• Open the Aquascape Smart Control App and click 'Create
New Account' (Ex. 9).
NOTE: If you already have an account, login with your
username and password.
• Once logged in, click the three dashes in the upper right-
hand corner of the home screen (Ex. 10).
• Click 'Add New Device' (Ex. 11).
• Enter the Wi-Fi network and password for the network to
which the unit will connect (Ex. 12).
Ex. 7
Ex. 8
5
