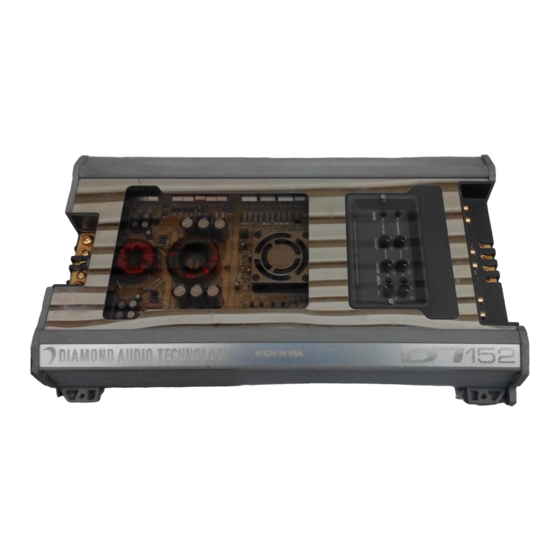
Diamond Audio D7 Manual de referência - Página 5
Procurar online ou descarregar pdf Manual de referência para Amplificador Diamond Audio D7. Diamond Audio D7 11 páginas. Professional reference series amplifier

TURN-ON CONNECTION (REMOTE)
Locate the terminal labeled "REMOTE" between the ground and +12V
power connection points on the end of the amplifier. Your source unit should
have a wire in its harness labeled "REMOTE" or "AMP TURN-ON." Some
source units come equipped with a "Power Antenna" lead only. This should
also work. Run this wire from your source unit to the amplifiers REMOTE
connection. Strip approximately 1/2 inch of insulation from the wire. Insert
the wire into the terminal, and tighten the Allen screw. Your D7 Professional
Reference Series Amplifier will accept remote turn-on wire up to
10 gauge directly.
A W ORD ABOUT
POWER AND GROUND CABLE GAUGE...
The following basic formula can be used as a quick guide to determine the
total amperage draw of a mobile audio system. This formula is based on a
50% amplifier efficiency rating. Diamond Audio D7 amplifiers are more
efficient. Others may be less. Using cable of a larger gauge will only increase
the current capability of your system. Do not use cable of a smaller gauge
than suggested here.
FORMULA:
Total amplifier rated RMS power x 2 = Total Input Wattage
Total Input Wattage = Current Draw (in Amps)
Battery Voltage
EXAMPLE:
An D7152 amplifier has 2 channels at 150 Watts per channel RMS into
4 Ohms totaling 300 Watts. Work the formula as follows:
300 Watts x 2 = 600W
600W = 50A Total Current Draw
12V
If the same amplifier is being driven to a 2 Ohm stereo or a 4 Ohm mono
load, double the total wattage number:
(D7152 = 600W @ 4 Ohms Mono) x 2 = 1200W
1200W = 100A Total Current Draw
12V
6
If you are considering a high output alternator or if you are not sure if your
vehicle's charging system needs to be upgraded, consult your Authorized
Diamond Audio Dealer. They will be happy to set you up with everything
necessary for you to enjoy a listening experience in your vehicle without equal.
BASIC TROUBLESHOOTING
1.
Amplifier has no output.
Is LED (located on power/ground endpanel) lit?
Yes: Make sure audio signal is present at RCA inputs. If no signal
is present, use alternate signal source and try again. If signal is
present, check configuration of crossovers. If still no signal, contact
your authorized dealer.
No: Check power, ground and remote wire for +12V. Verify all
connections. If voltages are correct and still no LED, contact your
authorized dealer.
Note: The following steps apply to each pair of channels on your amplifier.
2.
Sound in one channel only.
Reverse left and right RCA cables at amplifier inputs. Is the sound
now in the opposite channel?
Yes: Reverse the input RCA cables in every product installed
BEFORE your amplifier until the problem is found. Check RCA
cables for open connections. Repair as necessary.
No: Check the speaker or speaker wires of the dead channel
and repair as needed. If speaker and wire are OK, contact your
authorized dealer.
3.
One or more pairs of amplifier channels "squeal" when
operating.
One or more speaker wires are shorted or one or more speaker voice
coils are shorted or rubbing. If speakers and wires are OK, contact
your authorized dealer.
4.
Amplifier volume gets gradually softer as music is playing
without touching any system controls.
Amplifier is going into thermal protection. Make sure amplifier has
room for fan(s) to breathe. Preventing air from reaching the heatsink
will cause the amplifier to overheat, as will running the amplifier at
too low of an impedance.
15
