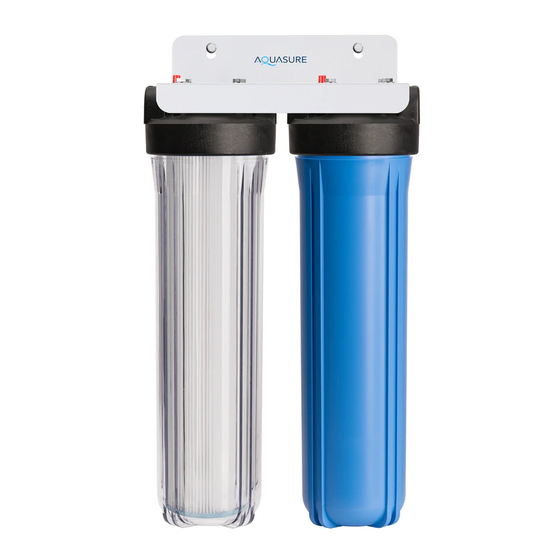
AquaSure AS-F210SCPKDF Manual do Proprietário - Página 9
Procurar online ou descarregar pdf Manual do Proprietário para Sistemas de filtragem de água AquaSure AS-F210SCPKDF. AquaSure AS-F210SCPKDF 12 páginas. Whole house

- 1. Table of Contents
- 2. Inspection & Preparation
- 3. Be Familiar with the System before Installation
- 4. System Operation Parameter and Installation Checklist
- 5. Installing the System
- 6. STEP 1. Shutting off the Main Water Supply Valve
- 7. STEP 2. Mounting the System
- 8. STEP 3. Attaching the Water Supply Pipe
- 9. STEP 4. Installing the Filter
- 10. STEP 5. System Startup
- 11. System Maintenance
- 12. STEP 2. Removing the Filter Housing
- 13. STEP 3. Install the New Filter
- 14. STEP 4. System Startup
- 15. Limited Product Warranty
SYSTEM MAINTENANCE
Note: Depending on usage and water quality, you might have to change your filters every
4 - 8 month or 6 - 12 months. It is recommend to change your Stage 1 filter at least every
4 - 6 month for areas with bad water quality.
STEP 1.
Shutting off the Supply Water
Caution! Before working on any system maintenance, prepare clean cloth or microfiber towel
to wipe off excess water that might spill during the filter replacement or system maintenance.
1. Turn the main water supply valve completely off by rotating it clockwise.
2. Turn on the nearest faucet to release any excess water and pressure that is built up inside
the pipe.
STEP 2.
Removing the Filter Housing
1. Press the red pressure relief button on the top of the housing cap to relief any pressure
built up inside the system.
2. Using the housing wrench and turning it to the left to loosen
3. Discard the old filter and clean the inside of housing and cap with warm water.
Caution! Do not use any chemical to wash the housing.
STEP 3.
Install the New Filter
1. Unwrapped the filter and place it inside the housing and make sure the housing is
centering on the stand pipe.
2. Check the o-ring for cracks or damage. Replace o-ring if it is damaged.
3. Screw on the housing with filter inside to the corresponding head by turning it from left to
right using the supplied housing wrench.
Note: Make sure the o-ring is inside the housing and do not over tightening the housing.
STEP 4.
System Startup
1. Turn on the main water supply valve fully by turning it counterclockwise
2. Check for leaks
3. Turn on the nearest faucet and let the water run for 10 minutes to release any trapped air
bubble or carbon fine if a carbon filter is installed.
AQUASURE
FORTITUDE V SERIES
7
