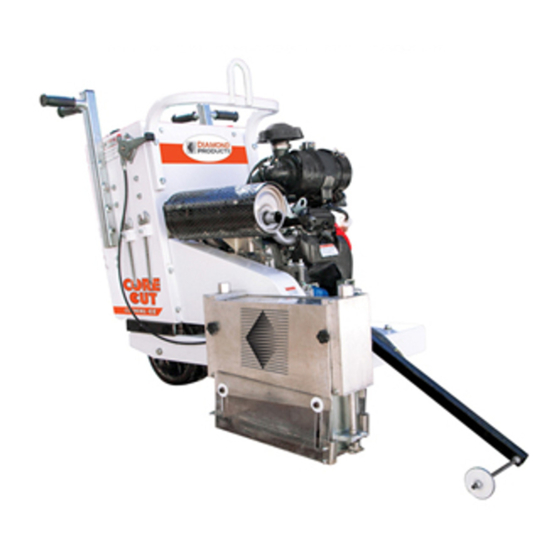
Diamond Products CC190PRO Manual do operador - Página 9
Procurar online ou descarregar pdf Manual do operador para Serra Diamond Products CC190PRO. Diamond Products CC190PRO 16 páginas. Concrete saw

Blade and Skid Plate Installation
1.
Remove the blade guard cover by turning
the two locking knobs counter-clockwise.
With the two wrenches supplied with the
saw, place one wrench end on the nut on
the blade shaft in the blade guard and rotate
the blade shaft clockwise until flats on blade
shaft can be accessed with the second
wrench. Place second wrench on blade
shaft flats and hold shaft while turning nut
counter-clockwise. Remove nut and outer
blade flange.
2. Mount blade on blade shaft arbor. Install
outer blade flange so that the lock pin on
the outer blade flange goes completely
through the blade and into the matching
hole on inner blade flange. Install blade
shaft nut by turning clockwise. Tighten nut
securely (Approximately 50 ft-lb).
3.
Install a new skid plate by hooking the front
on the front blade guard shaft pin. Connect
the rear blade guard shaft and the rear of
the skid plate by installing the locking pin.
Operating Instructions
1.
Check the fuel and oil level per the enclosed
engine manual. SAE 10W-30 or 5W-30 oil
and unleaded gasoline with an 86 or higher
octane should be used. Please read the
enclosed Honda Operator's manual for
complete oil and fuel information.
2.
Check the air filter and clean or replace if
necessary
3.
Check that the blade and skid plate are in
good condition. Make sure the work site is
clean, well lit and hazard free.
4. Raise blade by pushing rocker switch on
console to full up position.
5. To start saw, move throttle lever to 1/2 of
the open position, pull choke lever out and
turn key to the start position and release
once engine starts. Slowly close choke lever
as engine warms. Allow engine to warm for
a few minutes.
6. Open engine throttle to full open position.
(All cutting to be at full throttle). Lower the
front guide to the full down position by
pushing control lever forward.
7.
Line up the saw with the cut line using
the front guide wheel and the triangle
pointer on the back of the blade guard.
Pull transmission control lever the back
to a full stop position.
8.
Lower the blade by into the cut by pressing
blade rocker switch. Lower the blade to full
depth. Move the saw forward by pressing
transmission rocker switch by pushing the
control lever until the desired cutting speed
is reached.
9. Make small adjustments by applying
side pressure on the handle to keep saw
straight.
.
10.
Move the saw at about half speed for the
first 200 feet to allow the blade to
develop good diamond exposure or
open up and promote blade life.
Increase the forward speed of the saw
until the blade and the engine are
working at maximum efficiency.
11.
Increase the forward speed if the saw is
pulling left. Decrease the forward speed if
the saw is pulling right. Do not force the
saw. When approaching a wall, raise the
front guide and use the triangle guide at
the back of the blade block to cut the last
few feet.
12.
Do not hit the blade guard assembly
against any object. Damage may result.
Slow the forward speed by pressing
transmission rocker switch to neutral until
the saw stops. Raise the saw out of the cut
to maximum height by pressing the blade
rocker switch in the "RAISE" position.
13.
The self propel function of the saw will not
operate with the unit raised. Move the
engine throttle lever to the full closed
position. Turn the engine key switch to the
"OFF" position.
14. Always clean the blade guard assembly
thoroughly before storing the saw.
9
