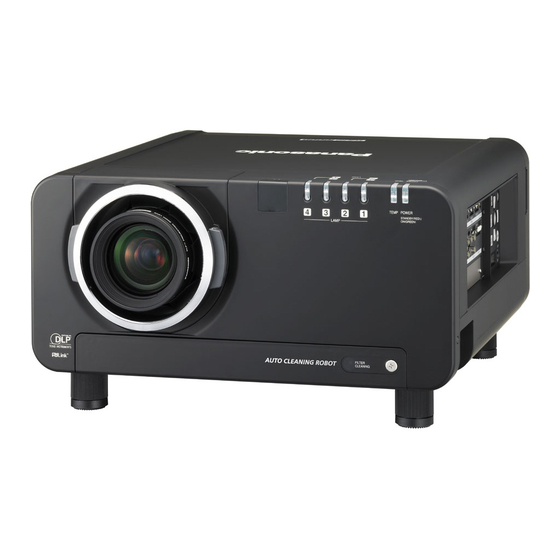
Adjustment of Installed Angle
The hanging bracket is equipped with an adjustment function to correct any shift of the projected
image in the left-right and top-bottom directions as well as tilt in the left-right angle against the
screen. The projector should be adjusted so that the lens centerline is perpendicular to the screen
surface.
The following adjustments should be made after projecting an image with the projector and
temporarily adjusting the image size with the zoom and focus with the focus ring. (Please refer to
the projector user manual for zoom and focus adjustment)
When the projected image is shifted to the left or right against the screen
When the projected image is shifted to the top or bottom against the screen
5°
upward
Loosen the
hexagonal bots
(2 placed on
5°
downward
each side of
left and right)
When the projected image is tilted to the left or right
Loosen the
hexagonal bots
(3 places each
on the front
and back)
When the projected image has trapezoid distortion after adjusting the installed
Notice
angle, the positional relationship between the screen and projector is incorrect.
Check each dimension by referring to the "Installation work dimensions" on page 4.
Hexagonal nut
for securing the
topside hanging
bolt
Adjustable in
this range
Adjustable
in this
range
Adjustable in
this range
(1) Loosen the four hexagonal nuts on the
hanging bolts on the attachment plate, and
move the projector in the left and right
directions to align the image center with the
screen center.
(2) After confirming the alignment of the image,
securely fasten the hexagonal nuts on the
bolts.
Do not remove the hexagonal bolts that
Request
secure the attachment plate and angle
adjustment bracket. Removing the bolts
may cause the projector to drop.
(1) Loosen the hexagonal bolts (2 places on
each side of left and right) that secure the
attachment plate and angle adjustment
bracket, and move the back of the projector
up and down to align the projected image
with the screen.
(2) After confirming the image position,
securely fasten the hexagonal bots.
Do not remove the hexagonal bolts that
Request
secure the projector attachment plate
and angle adjustment bracket. Removing
the bolts may cause the projector to
drop.
(1) Loosen the hexagonal bolts (3 places each on the
front and back) that secure the projector
attachment plate and angle adjustment bracket,
and adjust the tilt of the projector body in order to
achieve the correct projection angle.
(2) After confirming no tilt, then securely fasten the
hexagonal bolts.
9

