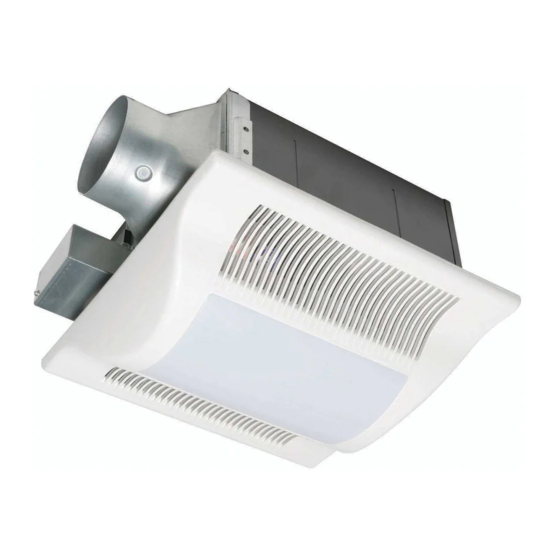
Panasonic Whisper-Lite FV-11VQL4 Manual de serviço - Página 18
Procurar online ou descarregar pdf Manual de serviço para Projetor Panasonic Whisper-Lite FV-11VQL4. Panasonic Whisper-Lite FV-11VQL4 19 páginas. Whisperlite™ 80 cfm ceiling mounted fan/light combination fv-08vql4 operating manual (french)
Também para Panasonic Whisper-Lite FV-11VQL4: Manual de instruções de instalação (15 páginas), Manual de instruções de instalação (15 páginas), Manual de serviço (14 páginas), (Francês) Notice De Montage (14 páginas)

4. Replacement Guide
INSTALLATION
7. Insert the grille mounting spring on the
wiring side into the slot, and insert the plug
connector
into the housing of lighting
unit.(Fig.7)
8. Insert the other mounting spring into the
slot as shown and mount grille to fan body.
(Fig.8)
CAUTION
Mount grille carefully so that lead
wire of lighting unit will not pinched.
MAINTENANCE(REPLACEMENT OF LAMP)
WARNING
Disconnect power source before working
on unit.
This is a pin type lamp base and the lamp's
glass is fragile.To remove,pull out carefully.
4W night lamp has threaded base,Remove
by turning counterclockwise.
Make sure the temperature of lens and lighting
unit has cooled down before maintenance
(cleaning) or replacement of lamp.
CAUTION
Remove dust and dirt from light kit cover assembly
and lens, before replacing the lamps.
1. Remove grille by pulling down one mounting spring. Remove
plug connector
then pull down the other mounting spring.
(Squeeze mounting spring and pull down carefully) (Fig.1)
2. Remove the screw as shown in step 1 of (Fig.2)
Remove the light kit cover assembly as shown in step 2 of (Fig.2)
3. Remove the fluorescent lamps (Maxlite MLS13GU35,13W)
and night lamp as shown in step 1 ,step 2 and step 3 of (Fig.3)
4. Install new night lamp (MAX 4W incandescent lamp) and
new fluorescent lamps (Maxlite MLS13GU35,13W) as
shown in step 1 ,step 2 and step 3 of (Fig.4)
5.Install light kit cover assembly.(Fig.5)
Secure screw
Light kit cover
(M4X8)
assembly
Fig.5
Ceiling
Plug connector
lighting unit
Gloves
Rib
Claw
Insert Plug connector
Ceiling
Grille
Ceiling
Plug connector
lighting unit
Gloves
Rib
Claw
Insert Plug connector
Remove screw
Light kit cover
(M4X8)
assembly
Lens
Fluorescent
lamp
Fluorescent
lamp
3
Grille
Fig.7
Mounting spring
Gloves
Fig.8
Grille
Fig.1
Fig.2
3
Night lamp
Fig.3
Night lamp
Fig.4
17
