Dickson SM325 Começar a trabalhar - Página 2
Procurar online ou descarregar pdf Começar a trabalhar para Registadores de dados Dickson SM325. Dickson SM325 4 páginas. Lcd display loggers
Também para Dickson SM325: Manual (4 páginas)

1.800.561.8187
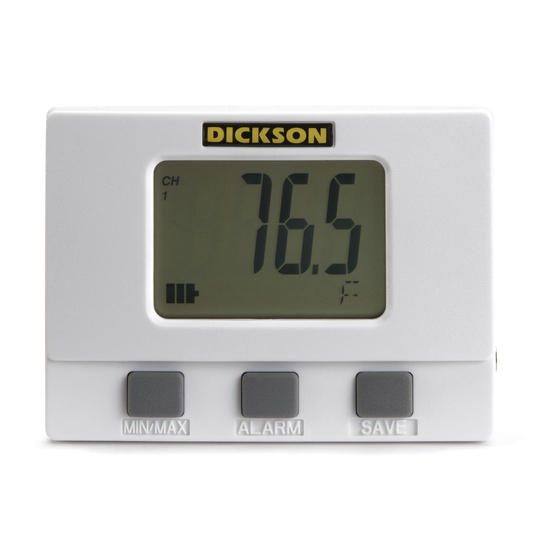
Clearing MIN/MAX values
Holding the MIN/MAX and Alarm buttons down
simultaneously until "clr" appears on display, will clear
the stored minimum and maximum values. The MIN and
MAx displayed by the logger will be the minimum and
maximum values recorded since it was last cleared.
DicksonWare will show the MIN and MAx values
for the entire downloaded data set. These could be
different than those displayed on the unit itself if
the MIN/MAx values were cleared at any time
during logging.
Installing a Flash Memory Card Reader
Follow the instructions included with the flash card
reader.
Power
These loggers operate on (4) AA batteries. An optional
AC adapter (Dickson part number R157) can be used for
continuous power with battery backup.
Battery Replacement
DicksonWare "setup" displays the battery voltage and
a low battery warning when replacement is needed.
When changing batteries, the logger will not collect
data. However, memory will not be lost. To start
sampling again, download data and then clear the
memory using Dicksonware™.
Battery Life
The average battery life is 6 months. To achieve longer
battery life during operation, use a less frequent
sample rate and disconnect the unit from the USB or
serial port when not downloading data.
Software
(All of these features can be modified by clicking on the
main Setup button.)
Setup (button)
Click this button first to establish communication
between your logger and DicksonWare™ software.
You may be prompted to select the communication
method between USB or Serial COM port. You may
save this setting so you will not be prompted again.
This setting is also changeable in File/Preferences/
Communications. A setup window will appear with "All
fields" populated. This confirms that the software has
recognized the logger. Should "All fields" remain blank
www.
SM300/320/325/420 & TM320/325
Temperature & Temperature/
Humidity Data Loggers
and communication is not established, refer to the
Troubleshooting section of this manual.
Identification (tab)
This tab provides you with the model and serial number
of the logger, as well as the option to set a custom
"User Id" by clicking the active "Setup" to the right of
the "User Id" field. This tab also includes the date the
unit was calibrated, calibration interval, and factory
calibration date.
Samples (tab)
The majority of the setup process takes place in this
section. Each field with an active "Setup" button to the
right, is a parameter that you can customize.
Sample Interval Tells your logger how frequently you
want it to take and store readings. This can be done in
10 or 1 second intervals. The dialog box that allows you
to change the sample interval will also inform you how
much time your chosen sample rate will cover. "Sub ten
second interval" should be enabled for desired sample
intervals with less than a 10 second interval.
Stop or Wrap when Full Determines what the logger
should do when it has collected all possible samples.
The logger will either stop and discontinue logging, or
continue logging by wrapping the newest data over the
oldest.
Note: When changing logger settings (sample interval,
stop/wrap, and start date and time) the logger will
automatically clear all stored data.
Channels (tab)
By clicking the Adjust button to the right of the
temperature or humidity value for each channel, you will
be allowed to "Disable" a channel that is not necessary,
change the name of a channel, set and activate "Alarm"
parameters.
TM320/325–Only the RH channel can be disabled
SM320/325–Only channel 2 can be disabled
Alarms (tab)
The alarms can only be set in DicksonWare™ in this
section. You may enable or disable the alarms and their
audio component and set the MIN and MAx values.
Download (button)
From the main menu, click on the Download button
to automatically extract all logged data into a graph
and table format. You may also choose to retrieve
data via the optional Flash Memory card. After saving
data to the card, simply insert the card into your
reader, open the "LOD" folder, then double click on the
.com
