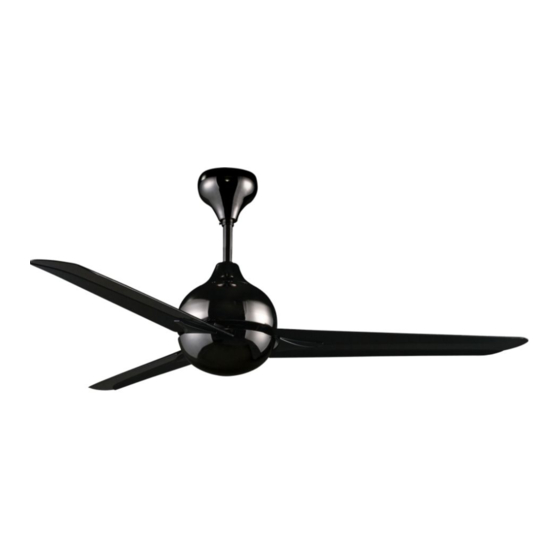
Alpha Fan AX838-5B/42 Manual de instruções - Página 3
Procurar online ou descarregar pdf Manual de instruções para Ventilador Alpha Fan AX838-5B/42. Alpha Fan AX838-5B/42 7 páginas.

PARTS & ACCESSORIES
Motor Assembly
Canopy
Blade Panel
Blade Holder
AX828-3B/56: 3pcs
AX828-3B/56: 3pcs
AX828-5B/56: 5pcs
AX828-5B/56: 5pcs
AX838-5B/42: 5pcs
AX838-5B/42: 5pcs
Fan Blade
AX828-3B/56: 3pcs
AX828-5B/56: 5pcs
AX838-5B/42: 5pcs
Bolt, Washer, Nut
Blade Panel Screw
Blade Holder Screw
and Clevis Pin x 2
& Washer
AX828-3B/56: 10pcs
AX828-3B/56: 7pcs
AX828-5B/56: 16pcs
AX828-5B/56: 11pcs
AX838-5B/42: 16pcs
AX838-5B/42: 11pcs
Transmitter & Holder x 1
Battery x 2
AAA
AAA
3
Canopy Cover
Coupling Cover
Switch Housing
Rubber Pulley Assembly
with Downrod
& Washer
INSTALLATION INSTRUCTION
Step 1
Assemble the Canopy, Canopy Cover and
Coupling Cover through the Downrod.
Canopy
Canopy Cover
Downrod
Coupling
Cover
Step 2
a) Route all the wires from the Motor through
the Downrod.
b) Fix the Downrod to the coupling with Bolt,
Washer, Nut and tighten them firmly then insert
the Clevis Pin.
IMPORTANT : Clevis Pin MUST be inserted to
prevent Nut from loosening.
Green/
Yellow (E)
Brown (L)
Blue (N)
Safety Wire
Washer & Nut
Clevis Pin
Coupling
Clamp the downrod
with the 2 screws
on the coupling to
prevent shaking
during operation.
Step 3 - Remove the Bolt, Clevis Pin, Nut,
Washer and Rubber Pulley from the Downrod.
Place the Rubber Pulley onto the ceiling hook
and fix back the Bolt, Clevis Pin, Nut and
Washer.
IMPORTANT : Clevis Pin MUST be inserted to
prevent Nut from loosening.
Rubber
Clevis Pin
Pulley
Nut
Washer
Bolt
Safety
Wire
Step 4 - Remove the Safety Wire screw and
spring washer from the Downrod.
4
