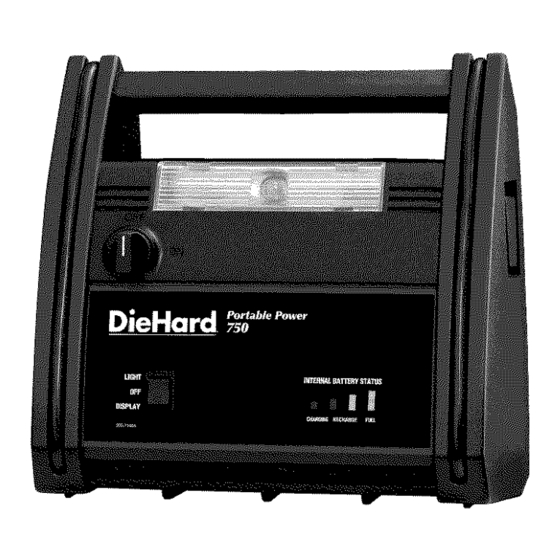
DieHard Portable power 750 200.71486 Manual do Proprietário - Página 6
Procurar online ou descarregar pdf Manual do Proprietário para Arrancador remoto DieHard Portable power 750 200.71486. DieHard Portable power 750 200.71486 8 páginas. Jump starter and dc power source

4.
charging
may
take
up to 72 hours.
The Portable
Power 750 is then ready
to use.
Once the battery
is fully charged,
the
built-in charger
automatically
switches
to float-mode
monitoring,
which
trickle
charges
the battery
and keeps
it fully charged
without
overcharging
so the Portable
Power
750 may
be
left permanently
connected
to the wall
outlet.
The internal
battery
may also be charged
while you drive using the male-to-male
ac-
cessory
cable (available
separately,
see
"Accessories
and
Replacement
Parts"
section
of this manual.).
Insert
one end
of the accessory
cable
into the 12V DC
power
outlet
and the other
end into the
vehicle's
accessory
outlet (lighter
socket).
Completely
disconnect
the accessory
cable when the engine
is not running.
STORAGE
AND
iNTERNAL
BATTERY
SELF-DISCHARGE
Charge
the 750 internal
battery
before first
use and after every
use thereafter.
The internal
battery
will gradually
self-dis-
charge
(lose power)
over time,
especially
in warm environments.
Leaving
the battery
in a discharged
state may result in perma-
nent battery
damage.
To ensure
satisfac-
tory performance
and avoid
permanent
damage,
charge
the internal
battery
every
2 to 3 months.
The
Portable
Power
750
may be left permanently
connected
to the
AC wall outlet.
Store
in a cool dry place.
Insert a replacement
bulb of the same
type and rating,
and twist clockwise
one quarter-turn
to screw
in the new
bulb.
5.
Replace
the lens cover.
6.
Test the light by switching
the light on
and off.
CUSTOMER
TECHNICAL
ASSISTANCE
Customer
technical
assistance
is available
Monday-Friday,
7 am to 4:30
pm Central
Time
by phoning
1-800-SEARS-64.
REPLACING
THE
BUILT-IN
LIGHT
To replace
the built-in
light bulb:
1.
Turn the light off.
2.
Pop
out the protective
plastic
lens
cover.
3.
Gently
grasp
the
bulb
and
twist
counter-clockwise
one quarter-turn
to unscrew
the bulb.
