Olympus WS-110 Manual de instruções - Página 4
Procurar online ou descarregar pdf Manual de instruções para Gravador de voz Olympus WS-110. Olympus WS-110 15 páginas. Enregistreuer voval numerique
Também para Olympus WS-110: Manual de instruções (11 páginas), Manual de início rápido (6 páginas), Manual do utilizador (9 páginas), (Inglês) Instruções (15 páginas), (francês) Mode D'emploi (15 páginas)

Power Supply
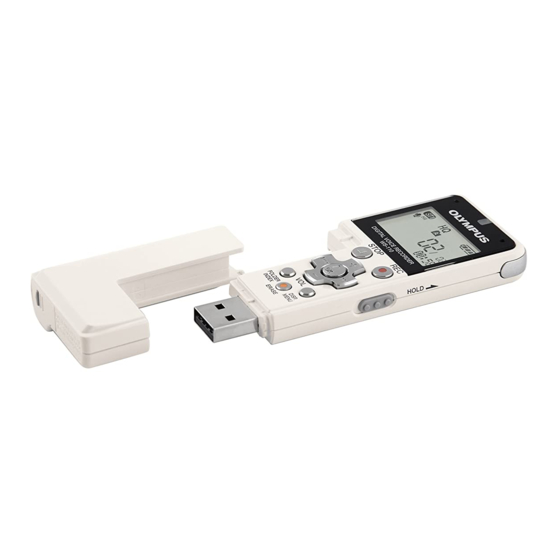
Slide the HOLD switch in the direction opposite that
indicated by the arrow.
➜
Power ON
The display will turn on and the power will be turned on.
The resume function will bring the recorder back to the stop
position in memory before power was turned off.
Slide the HOLD switch in the direction indicated by the
arrow while the recorder is not in operation.
➜
The display shuts off and the power will be turned off.
Power OFF
The resume function remembers the stop position before the
power is turned off.
Standby Mode and Display Shut Off
If the recorder is stopped for 5 minutes or longer during recording or playing, it goes
into Standby (power-save) mode, and the display shuts off. To exit Standby mode and
turn on the display, press any button.
Hold
Setting the HOLD switch to the direction of the arrow holds the current status, and all
button operations are disabled. This feature is useful when the recorder is carried in a
handbag or pocket. Remember to release the HOLD switch to use the recorder.
Notes
sSetting the HOLD switch to the direction of the arrow during playback will turn off the
display at the time when playback of the current file ends.
sSetting the HOLD switch to the direction of the arrow during recording will turn off the
display and finish recording at the time when the remaining recording time reaches to
zero.
Setting Time/Date (Time & Date)
If you have set the time and date, information as to when a sound file was recorded is
stored automatically with that file.
When using the recorder for the first time, or after the battery has been taken out for
a log period of time, the "year" indication will flash. In such a case, be sure to set the
time and date by following steps 4 through 6 described below.
1
Press and hold the
longer to go to the mainmenu.
2
Press the 9 or 0 to select the "Sub
Menu", and press t
"Time & Date" is displayed, and
3
Press the 9 or 0 button to select the item
to set.
Select the item from "year", "month", "day", "hour"
and "minute" with a flashing point.
4
Press the
Follow the same steps by pressing the 9 or 0
button to elect the next item, and press the
button to set.
5
Press the t button to complete the setup
screen.
The clock will start from the set date and time.
Press the t button according to the time signal.
6
Press the
This completes the time/date setup procedure.
sYou can choose between 12 and 24 hour display by pressing the
while setting the hour and minute.
sYou can change the order of the date indication by pressing the
while you are setting the year, month, or day.
sIf you leave the battery compartment disconnected from the recorder for a longer
period of time or if you remove the battery compartment repeatedly at short intervals,
you may have to reset the time.
(Example: June 14, 2007)
2
(MENU) for 1 second or
.
+
–
or
button to set.
5
button to close the menu mode.
- 4 -
flashes.
+
–
or
HOLD switch
2
(DISP.) button
2
(DISP.) button
