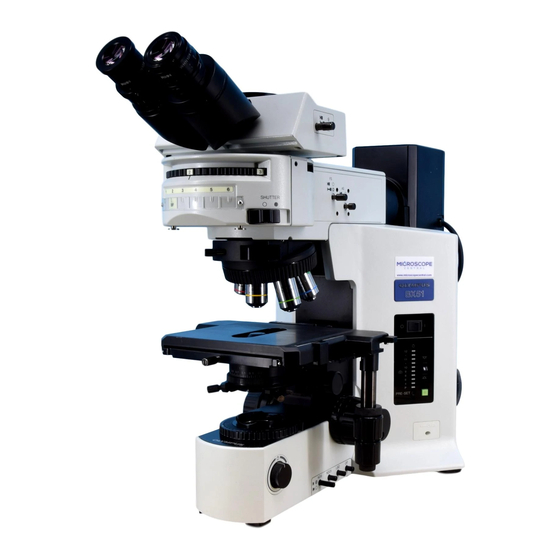
Olympus BX51M Manual de instruções - Página 24
Procurar online ou descarregar pdf Manual de instruções para Microscópio Olympus BX51M. Olympus BX51M 36 páginas. System metallurgical microscope

Problem
f ) cont'd
g) One side of image is blurred.
h) One side of image is blurred.
2. Electrical System
a) Bulb intermittently lights and goes
out.
b) Lamp bulb burns out soon after
lighting.
c) Brightness cannot be varied with
brightness control.
d) All voltage indicator LEDs light and
the voltage indication cannot be
varied with brightness control.
e) Lamp intensity voltage cannot be
increased with brightness control.
3. Coarse/Fine Adjustment Knobs
a) Coarse adjustment knob is too
heavy to rotate.
b) Stage drifts down by itself or focus
is lost during observation.
c) Specimen cannot be brought into
focus.
d) Coarse movement cannot reach
upper limit.
21
Cause
Objective is not correctly engaged in light
path
Dirt/dust on extremity of objective
Dirt/dust on specimen
Revolving nosepiece is not installed cor-
rectly.
Objective is not correctly engaged in light
path.
Parallelism of specimen cannot be
achieved.
Specimen is heavier than specified.
Revolving nosepiece is not installed cor-
rectly.
Objective is not correctly engaged in light
path.
Bulb is nearly burned out.
A cord or connector is not properly con-
nected.
The bulb in use is not the specified lamp. Replace with a standard bulb.
Light preset switch is set to ON.
Lamp bulb is not installed.
Lamp bulb is burnt out.
Lamp housing output connector is un-
plugged.
Lamp bulb is burned out.
Rotation tension adjustment ring is too
tight.
Pre-focusing lever is locked.
Tension adjustment ring is too loose.
Stage height adjustment is too low.
Pre-focusing lever is locked at the low
position.
Remedy
Make sure that revolving nosepiece
clicks into place correctly.
Clean it thoroughly.
Clean specimen.
Secure it by pushing in the sliding
dovetail all the way until the stopper.
Make sure that revolving nosepiece
clicks into place correctly.
Correct specimen to make it parallel
or replace specimen.
Replace the specimen.
Secure it by pushing in the sliding
dovetail all the way until the stopper.
Make sure that revolving nosepiece
clicks into place correctly.
Replace bulb.
Connect cords and plugs securely.
Set it to OFF.
Attach lamp bulb.
Replace lamp bulb.
Plug lamp housing output connector.
Replace lamp bulb.
Loosen ring to an optimum tightness.
Release pre-focusing lever.
Tighten ring to an optimum tightness.
Raise stage holder height.
Release pre-focusing lever.
Page
–
2
–
–
–
12
12
–
–
28
29
28
7
28
28
29
28
8
9
8
14
9
