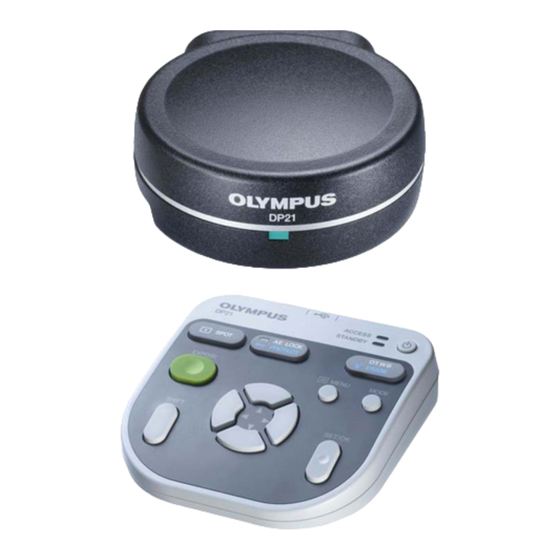
Olympus DP21-SAL Manual de operação rápida
Procurar online ou descarregar pdf Manual de operação rápida para Microscópio Olympus DP21-SAL. Olympus DP21-SAL 2 páginas.
Também para Olympus DP21-SAL: Manual de operação rápida (2 páginas)

Recording Procedure
Connect a USB memory @.
Set the main switch of the camera head to ON.
Press the main switch ² to ON.
Initial setting
(Language setting: p.57, Scale setting: p.38)
REC AUTO mode selection
Press the MODE button ³ to switch the modes in
the order of REC AUTO
PLAY
REC MANUAL.
Microscope adjustment
· Set light path selector to camera (camera) path.
· Engage LBD filter in microscope light path.
· Adjust the microscope brightness.
Image check
Confirm the specimen focusing and framing (record-
ing area) on the monitor screen.
Recording
· Press the EXPOSE button |.
· The ACCESS LED 5 blinks during recording.
Recording result check
· Select PLAY mode and check the recorded image
(see back side for details).
DP21-SAL QUICK OPERATION GUIDE
Main factory setups
· INFO display
: ON (displayed)
· Recording mode
: HQ (DP21)
2448x1920, JPEG-LOW (DP26)
· Exposure correction
: ±0
· White balance
: AUTO
· Metering mode
: 30% average
· Sharpness
: NORMAL
· ISO
: 100
· Image color setting
: COLOR1
}For details on the settings, refer to the instruc-
tion manual.
2
1
5
a
b
4
3
9
6
7
8
-- Recording --
INFO display
(The page numbers below are those in the instruction manual.)
The screen shown below is the INFO display when combined with DP21.
No. of remaining
image (p.24)
Image quality
(p.31)
ISO speed
(p.32)
Metering area
(p.27)
Folder name (p.36)
AE Lock (p.28)
Tips
· Press the cursor buttons
‡ to zoom into the image. Before zooming, be sure
to hide the MENU display (use the MENU button 9 for view/hide switching).
· To scroll a zoomed image, press the cursor buttons ‡ while holding the SHIFT
button 6 or SET/OK button 7 depressed.
· Press the Shift + MENU buttons to hide the INFO display.
· If no image is displayed, first press the main switch ² and then press the MENU
button 9 while the AE lock LED b lights (for about 1 second) during startup. The
system will start up with the SVGA resolution (800x600).
CAUTION
· Do not connect a device other than the USB memory provided with the DP21-SAL
to the USB port of the hand switch (if a USB device with high power consumption
is connected, it may not function due to insufficient current supply).
· Always leave the main switch of the camera head to ON.
· After the system is turned OFF using the main switch ² of the control box, it cannot
be turned ON using the standby switch of the hand switch. The main switch ² of
the control box should be used in such a case (when the system is turned OFF
using the standby switch a of the hand switch, the system can be turned ON with
either switch.
AX8231-01
Exposure time (p.28)
White balance (p.35)
Exposure
adjustment (p.27)
Scale setting
(p.38)
Scale display
area (p.40)
File name (p.36)
Zoom (p.28)
A X 8 2 3 1
