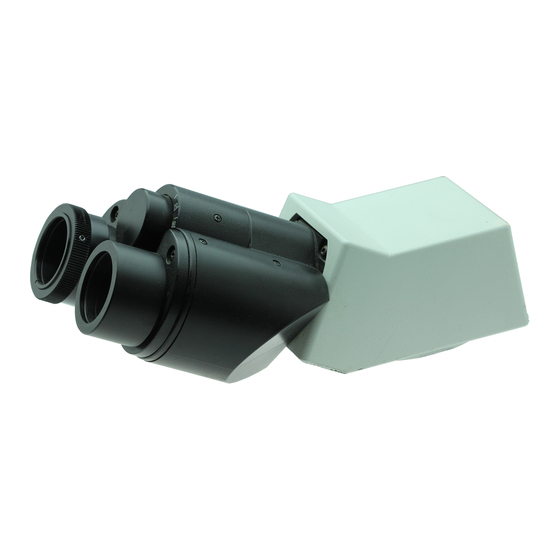
Olympus U-TR30-2 Manual de instruções - Página 28
Procurar online ou descarregar pdf Manual de instruções para Microscópio Olympus U-TR30-2. Olympus U-TR30-2 36 páginas. Motorized illumination system with motorized focusing unit

8-2 Preparations for Assembly
1
Installation on the User's System
}The illuminator can be installed on the existing system of the user in two ways.
Select the appropriate installation method according to the design and configuration of the user's system.
@
4
24
²
@
Fig. 18
3
3
Fig. 19
Installation by the Left Side Panel
The illuminator can be installed by the 6 screw holes 1 on the left side
panel.
· Attach the illuminator firmly by the 6 bolts (with threaded section length
of no more than 10 mm).
If the number of bolts is insufficient, the illuminator installation may be-
come unstable.
· The installation surface on the illuminator left side panel has two posi-
tioning dents 2.
To obtain the standard position, clamp the illuminator by pushing it up
and rightwards by using the dents.
Installation by the Bottom Side Panel
The illuminator can also be installed by the 6 screw holes 3 on the
bottom panel.
· Attach the illuminator firmly by the 6 bolts (with threaded section length
of no more than 10 mm).
If the number of bolts is insufficient, the illuminator installation may be-
come unstable.
· The installation surface on the illuminator bottom panel has a positioning
section 4.
To obtain the standard position, clamp the illuminator by pushing it up
and rightwards by using the positioning section.
· Stop the 6 screw holes 1 (Fig. 18) on the left side panel with the pro-
vided seals to prevent leakage of light and penetration of dust.
(Figs. 18 & 19)
