Axminster C0 Manual de instruções - Página 5
Procurar online ou descarregar pdf Manual de instruções para Torno Axminster C0. Axminster C0 14 páginas. Mode engineer series metal turning lathe

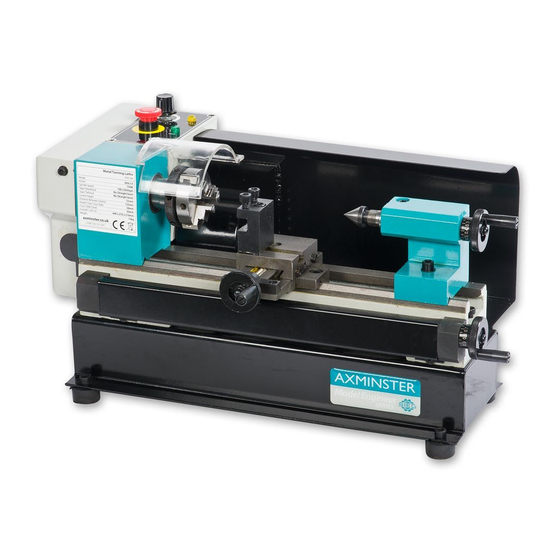
Switch on the machine by GENTLY turning the Variable Speed control knob(4), clockwise. A
click will be heard as power is turned on, but the spindle will not rotate until the knob is turned
clockwise a little further. Speed will increase progressively the further the knob is turned.
Run of a total 5 minutes during which time gradually increase spindle speed to its maximum. Run
for at least 2 minutes at this speed before stopping the machine and disconnecting from the
mains supply.
Check that all components are still secure and working freely and correctly.
Check also to ensure the mountings are secure.
Should any adjustments be necessary, refer to the appropriate section under 'Settings and
Adjustments'.
B. STARTING UNDER NORMAL CONDITIONS
1. Take all necessary precautions previously stated, and ensure the workpieces can rotate fully
without obstruction.
2. Proceed start the machine as described in Section A above.
3.
If the machine is finished with or is to be left unattended, turn the Variable speed control knob
to the OFF position then disconnect from the mains supply.
ATTENTION: The power supply system of this machine has an automatic overload protective
device. If cutting or drilling too deep, the system will stop working, and a yellow lamp (6, on the
main panel) will light. Just turn off the Variable Speed control knob (4) and then turn on again.
The system will work again and the yellow lamp will go off automatically.
OPERATION
SIMPLE TURNING
Before starting the machine, as described above, it is imperative that the setup for the type of
work to be carried out is fully checked.
The following notes are guidelines as to how to set up the lathe in order to carry out a simple
turning operation.
ALWAYS plan your work. Have drawings or a plan on hand together with any measuring
instruments you may require, such as micrometers/ verniers / cailpers etc.
Select a cutting tool that will produce the desired cut and mount in the tool rest, with as little over-
hang as possible, securing it using three hex socket head screws. (ideally, the overhang should
be approx. , 6mm but not more than 8mm for a straight tool).
It is IMPORTANT to ensure that the tip of the cutting tool is on the center line of the work, or very
slightly below it. On no account should it be above the center line.
Where necessary shims should be used beneath the tool in order to achieve the correct height, or,
if the tip is too high, the only recourse is to select another tool or grind down the tip.
To check the tip is at the correct height, position the tool so that the tip is almost touching the
point of the tailstock center. They should coincide. If necessary make adjustments using shims,
grind down the cutting tip or select another tool.
If the tailstock is not to be used, you may remove it completely by slackening off the securing nut
at its base, and sliding it free of the bed.
5
