Axminster Router Elevator Manual do utilizador - Página 10
Procurar online ou descarregar pdf Manual do utilizador para Ferramentas Axminster Router Elevator. Axminster Router Elevator 16 páginas.

Set Up/Operating Instructions...
Ensure you have identified all the parts of your Router Elevator.
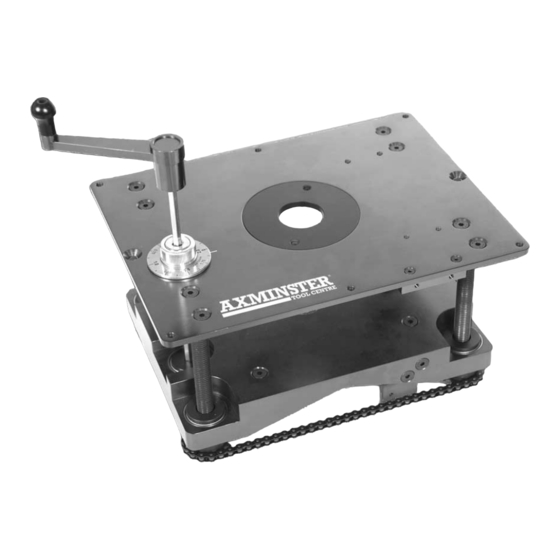
Place the Router Elevator into the prepared recess. See Fig A on page 06. Check that it is
flush with the work platform surface. If this is not the case insert the supplied grub screws in
the threaded corner holes and level the machine table. (See Fig 1) If, for some reason, it is
impossible to level the table absolutely flush with the work platform, ensure that the 'front' of
the table is low in the recess, and the 'rear' of the table is high to the work surface. (Low and
High in this instance refer to the minimal measurements required to ensure that there is
no 'edge' for the work piece to 'snag' on). When you are satisfied with the levelling
Grub screw
Fitting the Router and the Cutters...
!
ACHIEVE UNRESTRICTED MOVEMENT, IT MAY BE NECESSARY TO REMOVE
Lower the table to almost its fullest extent. Using the Allen key provided loosen the bolts and
therefore the lugs holding the universal mounting plate (UMP) in position and remove. (See
Figs 2 and 2a). Remove the sole plate from your router; see Fig 3, and secure your router to
the UMP via the appropriate holes see Fig 4. Insert the requisite tool into the router and
tighten securely. Adjust the 'depth' of the router to give the slightly more than the required
exposure of the tool (to allow for adjustment) and lock the body. Remember that you will
loose 14.5mm of the set 'height' of the cutter between the lower face of the universal
mounting plate and the upper surface of the machine table. Alternatively, current practise
would indicate that the router is plunged to maximum depth and all height adjustment is done
using the elevator. Refit the mounting plate to the rise and fall platform. (See Fig 5)
Re-fasten the holding lugs. If the router tool diameter is greater than 75mm, the
router/mounting plate combination must be refitted to the rise and fall platform first, and then
the tooling mounted into the router. (Hint. You will find this easier with the rise and fall
platform at its highest position and the table insert removed).
NOTE. If you find that some of your cutters are 'borderline' for 'reach' or the length of shank
remaining in the collet is approaching the minimum limit, may we suggest the purchase of
the short collet extension Axminster No. 211367. (See Page 5)
NOTE. You may also like to consider the purchase of a 'Cranked Spanner' Axminster No.'s
991004 for the Dewalt and CMT routers (22.2mm) or 991003 for the Bosch and Makita
routers (23.8mm), to enable 'easy' fitting of the cutters from above the work surface. (See
10
Page 5)
process you can, if required, fasten the elevator in
Straight edge
IN ORDER TO FIT SOME OF THE ROUTERS TO THE ELEVATOR AND
THE HANDLES; PLUNGE THE ROUTER BODY TO DEPTH, ETC., ETC.
position with the two M6 bolts supplied
or even two Wood Screws.
(perhaps an MDF working
platform/table?).
Fig 1
