Accumulators AI-CG3-3KT-SS Manual de instalação, operação e cuidados - Página 5
Procurar online ou descarregar pdf Manual de instalação, operação e cuidados para Equipamento de serviço Accumulators AI-CG3-3KT-SS. Accumulators AI-CG3-3KT-SS 5 páginas. Piston accumulator

PISTON ACCUMULATOR ASSEMBLY
A. Fit the piston seals as described in section INSTALLING
PISTON SEALS.
B. Assemble the piston accumulator:
1. Lubricate the upper ends of the cylinder wall and wear bands
on the piston with filtered operating fluid.
2. Lubricate installation sleeve. Load piston with deeper
counter bore down into piston sleeve. Place loaded sleeve
into shell fluid end (end opposite of vent hole).
3. Fully insert the piston into the tube using a plastic/wooden
rod and a rubber mallet.
4. Grease 'O' & backup rings and install into respective end
cap grooves.
5. Apply nickel-based anti seize onto lower half of the
threads of CS end caps and PTFE based lubricant on SS
caps.
6. Screw end caps into the shell with a spanner wrench or
two bolts and a rod until they are level with the ends of the
accumulator.
7. If not using accumulator immediately, apply aerosol anti-
corrosive through open gas port.
8. Fit the gas valve and all adapters and other accessories.
9. Connect the Accumulators, Inc. charging and gauging kit
and charge the accumulator according to the PRECHARGING
INSTRUCTIONS section.
10. Install valve cap and gas valve guard.
C. Reinstall the piston accumulator into the system and
check for leaks.
7. The o-ring should now
be nestled into the piston's
center groove. Pull the ribbon
out, making sure to remove
any fabric fibers.
8. Place the heated seal on
top of the piston and loop the
ribbon around the seal. Stretch
the seal and roll the piston,
shown in step 6, to secure the
seal over the o-ring. Make sure
not to twist the seal. A second
technician could help.
9. Take the wear bands out
of the piston counter-bore
and wrap around to fit in the
larger grooves.
10. The piston is now ready
to be installed into the
cylindrical shell.
ACCESSORIES AND STEPS
A. Nitrogen source regulator
attached with gland and nut
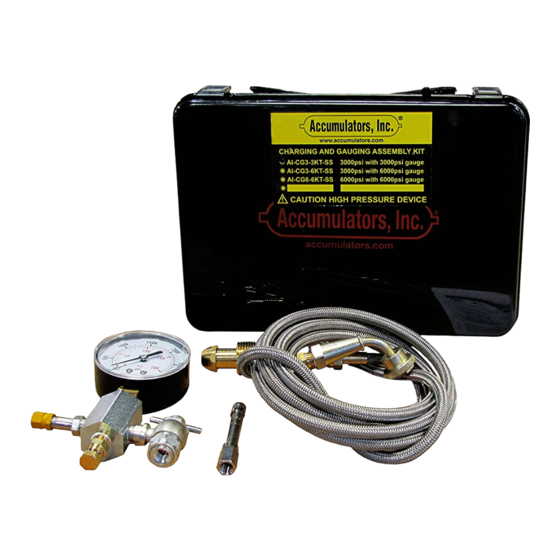
C. AI-CG3-3KT-SS
(3000 psi Charging Assembly)
E. AI-TKIT-1
Deluxe 3kpsi & 6kpsi Maintenance Kit
B. Attaching Air Chuck
D. AI-CG6-6KT-SS
(6000 psi Charging Assembly)
