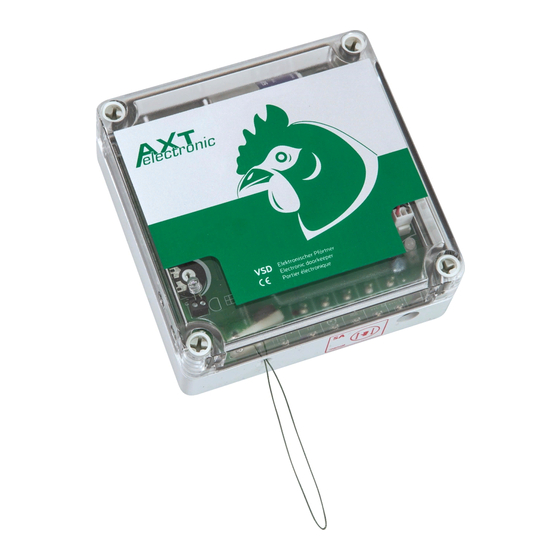
AXT ELECTRONIC VSD Manual de instruções - Página 3
Procurar online ou descarregar pdf Manual de instruções para Equipamento agrícola AXT ELECTRONIC VSD. AXT ELECTRONIC VSD 6 páginas. Electronic doorkeeper

Manual Control
„SA-function"
Opening and closing the
slider by holding on the
red magnet at the SA
marking.
ADDITIONAL ACCESSORIES
Electronic Doorkeeper VSD
Plug-In power supply
The power supply unit is connected to contacts 1 at the bottom (blue cable) and 2 at the top
(red cable). After plugging in the power supply, the Doorkeeper starts (LED flashes several
times, last red) and is now ready for operation (LED off ). If the cord was unwound, it is now
completely wound in. Attention: When operating together with timer ZS-D, connect the power
supply directly to the timer.
Timer ZS-D (mains operation)
The cables of the timer are marked yellow. At first connect the power supply unit at the
timer at contacts 1 below (blue cable) and 2 below (red cable). Then connect the supplied
connecting cable to the corresponding colour-coded contacts at the top (blue, red and yel-
low cable). Lead now the connecting cable to the Doorkeeper and clamp the cables there
on the contacts 1 bottom (blue cable), 2 top (red cable) and 3 top (yellow cable for clock
signal). For the exclusive control via the BS-D or ZS-D timer please deactivate the twilight
sensor inside the Doorkeeper - so connect the contacts 5 and 6 (outdoor light sensor) with the
supplied cable bridge.
Timer BS-D (battery powered)
The cables of the timer are marked yellow. Connect the timer cables to contacts 4 at the
bottom (white cable) and 3 at the top (brown cable). For exclusive control via the BS-D
or ZS-D timer, please deactivate the twilight sensor - connect contacts 5 and 6 (outdoor light
sensor) with the supplied cable bridge. For a combined time and twilight control, please do not
connect a cable bridge to contacts 5 and 6.
External light sensor ASb
The cables of the external light sensor are marked blue. Connect the cables of the outdoor
light sensor to the contacts 6 (white cable) at the bottom and 5 (brown cable) at the top.
When using the ASb, please unscrew the internal twilight sensor (see note above) or
darken it completely with a suitable closed black cap!
Manual control extension SA
The cables of the external manual control are marked red.
Connect the cables of the outdoor light sensor to the contacts 8 (white cable) at the
bottom and 7 (brown cable) at the top. Instead of the external manual control with magnet,
you can also connect your own pushbutton (not latching, no switch!) to control the doorkeeper
manually.
external LED extension
The cables of the external LED are marked green. Connect the cables of the external LED
to the contacts 10 (white cable) at the bottom and 9 (brown cable) at the top. (If the polari-
ty is reversed, the LED flashes red every 4 seconds after closing, not green).
Twilight sensor
Light sensitivity can be ad-
justed with the rotary knob:
e.g. to 3 (top) - closes earlier
in the evening, opens later in
the morning; turn clockwise
to the right = close later in
the evening and open earlier
in the morning
When using the outdoor
light sensor ASb please
unscrew the internal sensor
or completely darken it with
a suitable black cap.
