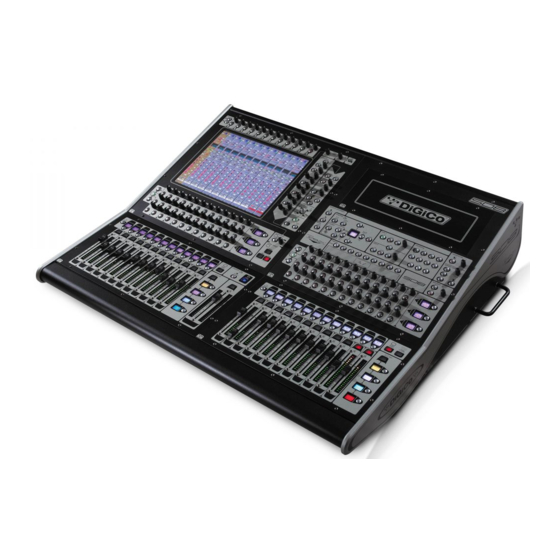
digico S31 Manual - Página 6
Procurar online ou descarregar pdf Manual para Equipamento de gravação digico S31. digico S31 9 páginas. Replacing and cleaning faders

SD8
This section is for the cleaning and replacement of faders in the SD8 only. You will also need a good quality
soldering iron, solder, and solder sucker if you are replacing single faders. If you are cleaning faders, then
you will also need a good quality de-greaser such as 3-In-One Professional Super Degreaser spray to perform
an initial clean of the fader tracks.
Part Numbers – see
Appendix 1 – Fader Table
•
Fader: POT000181
•
PA16033 Meters/faders
Replacing Faders
1. Power down the console, switch off the
PSU's and connect your antistatic strap to
an appropriate earthing point.
2. Unscrew the fader panel (SD8 panel shown
opposite) with a screwdriver.
3. Carefully tilt the panel and disconnect the
cables to the PCB's (indicated opposite with
arrows), and the connectors to the fader
motors.
4. Flip the panel back over and remove the
fader knobs and store them somewhere
safe.
5. Carefully unscrew the fader driver PCB
retaining screws (indicated above as
yellow stars
somewhere safe.
6. Flip the panel back over again and gently lift
the fader driver card away from the meters
card, being extra carefully as there are three
multipin connectors between the two PCB's. Put this card to the side for now.
7. Unscrew the screws at the top and bottom of each fader and keep them safe, then flip the panel
over and remove the hex bolts and keep them safe.
8. Using the vacuum cleaner and the paintbrush, gently clean the panel, meters and the fader driver
PCBs, and the area inside of the console. Put the fader driver card somewhere safe.
9. If you are replacing the whole bank of faders (PA16033) then read section 9.1. If you are only
replacing single faders, skip to 9.2.
9.1. Remove the old meters and faders PCB and replace with the new PCB.
9.2. Using soldering tools, de-solder the faulty fader and discard it. Use the solder sucker to remove any
excess solder on the PCB solder pads. Carefully solder in the new fader.
10. Screw in the faders on the front of the panel, re-fit the fader driver PCB with the Hex bolts, re-plug
all connectors.
11. Place the fader panel back into the console, switch the console on and test the functionality of the
faders and buttons – the panel can now be screwed back into place.
TN 559 – Cleaning and replacing faders - All consoles
for full details
Fader with solder tabs
PCB of 12 pre-soldered faders for Left, Centre, Right banks.
No pre-soldered PCB available for Master fader
), store the screws
Page 6
