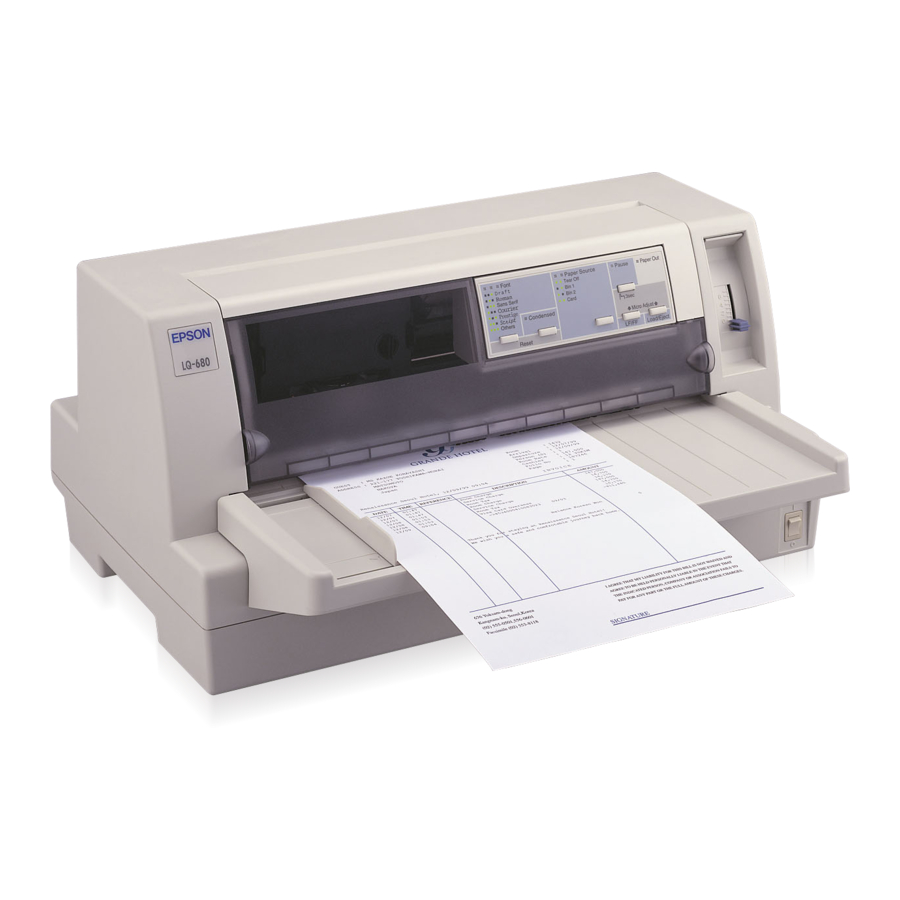
EPSON LQ-680Pro
Use the
button on the control panel to select the
Paper Source
paper source you want the printer to use.
Choose from three settings:
Select
when you are using paper loaded on the
Tractor
tractor.
Select
Manual/CSF Bin1
paper guide or optional cut-sheet feeder bin 1, or when you
are using roll paper on the optional roll paper holder.
Select
Manual/CSF BIN2
paper guide or optional cut-sheet feeder bin 2, or when you
are using roll paper on the optional roll paper holder.
Adjusting the Paper Thickness Lever
You need to set the paper thickness lever to match the thickness
of your paper. There are nine lever positions, from –1 to 7, plus
an
position.
Auto
It is best to select
for all types of paper. This lets the
Auto
printer automatically adjust itself to match the thickness each
time it loads new paper. Note that printing time may be slowed.
If you use the same type of paper every time, you may want to
set the paper thickness lever to the appropriate manual position
as described in the following table. This speeds up printing.
8 - EPSON LQ-680Pro
to feed single sheets using the
to feed single sheets using the
Paper type
Ordinary paper
(single sheets or continuous paper)
Multipart forms
(single sheets or continuous paper)
2 parts (original + 1 copy)
3 parts (original + 2 copies)
4 parts (original + 3 copies)
5 parts (original + 4 copies)
6 parts (original + 5 copies)
Labels
Postcards
Envelopes*
* For thin envelopes, such as airmail envelopes, select position 2 or
3; for regular envelopes, select position 4; for thick envelopes,
select position 4, 5, or 6.
If you set the paper thickness lever to 1 or higher, be
sure to set the lever back to the Auto position before
you print on ordinary paper again.
Using the Tear-off Function
When you have finished printing, you can use the tear-off
function to advance continuous paper on the tractor to the
tear-off edge of the printer and tear off the printed sheets. When
you resume printing, the printer automatically feeds paper back
to the loading position so you can save paper that would
normally be lost between documents.
You can use the tear-off function two ways:
Press the
Tear Off
Use the default setting mode or the EPSON Remote! utility
to select auto tear-off. (See "Changing the Default Settings"
on page 14 for more information.)
If the perforation between pages is not aligned with the tear-off
edge, you can adjust the tear-off position using the micro adjust
feature. See "Adjusting the Tear-off Position" on page 12.
Never use the tear-off function to feed labels backward;
they may come off their backing and jam the printer.
11/00
Paper thickness
lever position
–1 or 0
1
2
3
5
7
2
2
2 to 6
button on the control panel