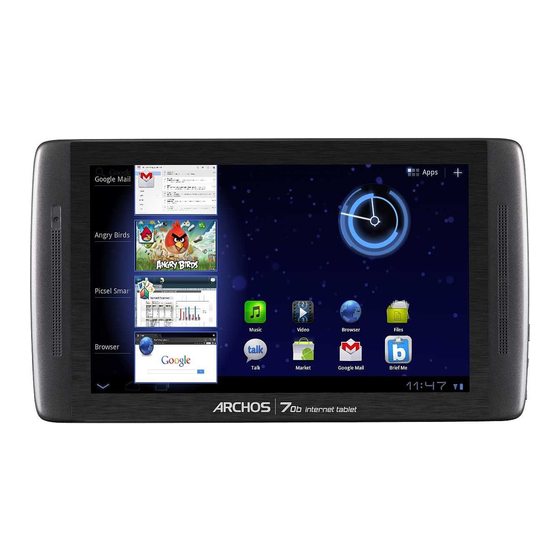
Archos 101 G9 Manual do utilizador - Página 11
Procurar online ou descarregar pdf Manual do utilizador para Tablet Archos 101 G9. Archos 101 G9 13 páginas.

ARCHOS 70b it English
Sometimes when you have been using Android™ for a while, it may hold a number of applications in active memory and slow down. You can stop individual applications or
stop all of them to give more space to working memory. You can also see which applications are preventing the device from sleeping or which ones are waking it up too often.
10. Updating The Device
The firmware is the operating system (OS) of your ARCHOS. It is periodically updated to bring new features, improvements and bug fixes. There are two main ways to update
your product's firmware:
10.1. From Your Device
Update directly on the ARCHOS (WiFi connection needed). This is the easiest way to update the firmware. You only need a connection to a WiFi network. See Making a WiFi
Connection. From the Home screen, tap on the Settings application and choose About tablet. Tap the Firmware update.
The ARCHOS will search on-line for a new firmware. If there is one available, it will start downloading, and it will be installed automatically. Follow the on-screen instructions.
10.2. Via Computer
On your PC, go to www.archos.com/firmware. Search for the latest firmware available for your ARCHOS. Compare the latest online version with the one installed on your
ARCHOS (your ARCHOS firmware version number appears in the About tablet settings screen). If the online version is more recent than yours (has a higher number), follow the
instructions to download it and copy it to your ARCHOS. Your Internet browser may warn you that the contents of the firmware file could harm your computer. ARCHOS has
taken precautions to insure that this file will not harm your computer.
11. Troubleshooting
11.1. Resetting your ARCHOS
In the event that your ARCHOS freezes during operation, you can force the device to shut down by holding the Power button for 10 seconds.
Resetting your ARCHOS will not erase any data from your device.
If the touch-screen is not responding properly you can execute a touchscreen recalibration by doing a System Recovery as per the next section.
11.2. Touchscreen problems
If the touchscreen is not responding properly, go to the Touchscreen calibration settings screen (Settings > Repair and Formatting ). Then use the Touchscreen calibration button,
and follow the instructions on the screen. If this does not work or if you cannot access the touchscreen settings, you can force the touchscreen calibration (see: System
Recovery).
11.3. System recovery
If your ARCHOS does not respond correctly or does not start properly, you can try to remedy this situation with a system recovery. Be very careful with this as there are options
to erase all the data on your device.
11.3.1. To Enter Into The Recovery Screen
- Turn off the device and wait 10 seconds.
- Press and hold the volume + button while powering on the device.
- Keep the volume + pressed until the Recovery mode starts (white screen).
- To move from one option to another, use the volume buttons. To select an option, press the ON/OFF button.
11.3.2. Recovery Mode Options
No: Cancels the system recovery.
Update firmware: Allows you to connect your device to a computer in order to copy the latest .AOS file (operating system) to your device and then install it.
Repair System: Attempts to repair the file structure on the internal memory. This does not erase any data.
No: Return to main recovery screen.
Force Touchscreen Calibration: Select this, set your device down, start the calibration, and don't touch it. It will re-calibrate the screen. After the calibration is complete, select
No to leave the recovery screen.
Check Disk: Check and repair the system partition if damaged.
Start USB MSC: Allows you to connect your device to a PC to access the internal memory.
Format System: Formats the internal memory. All data (music, photos, videos, etc.), applications and settings are erased.
12. Accessories & Plug-Ins
12.1. USB Host cable
This cable will allow your ARCHOS to have a full-sized USB Host port. That is, you can connect a camera, a USB stick, a USB memory card reader, a mouse, a keyboard, a
combination mouse/keyboard, or a powered hard drive to your ARCHOS*. By using this cable, your ARCHOS can download all the photos from your camera directly, without
having to transfer the photos to your computer first. See the ARCHOS on-line store to purchase this micro USB-B to USB-A host cable.
* Some standard USB devices may not function if they consume too much power.
12.2. Cinema Plug-in
The out-of-box video playback capability of the ARCHOS is about the best on the market. However, it does not come with MPEG-2 video playback capabilities. You can
purchase a software plug-in from the ARCHOS online store which will allow your ARCHOS to play these files. This allows your device to play VOB, TS, PS video streams as
well as AC3 audio.
12.3. Mini-HDMI to Standard-HDMI male/male cable
This Audio/Video cable plugs into the ARCHOS to allow it to play video out to a television. Make sure you have switched your television to the correct video input, often this is
http://www.archos.com/manuals/A70b_it_EN.html
done with the A/V select button of your TV's remote control.
Page 11 of 12
2012-11-19
