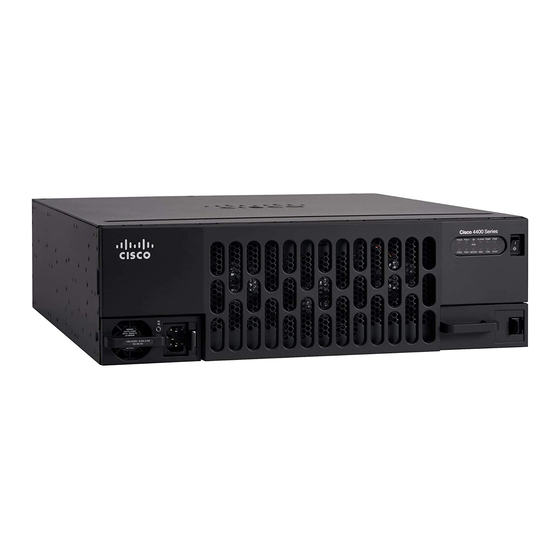
Cisco 4500-M Manual de instalação - Página 17
Procurar online ou descarregar pdf Manual de instalação para Interruptor Cisco 4500-M. Cisco 4500-M 18 páginas. Upgrading memory
Também para Cisco 4500-M: Manual de substituição (16 páginas), Upgrade Manual (24 páginas)

The chassis should be wall-mounted with the front and rear of the chassis perpendicular to
Note
the floor and at eye level, so you can read the front and rear LEDs. All four mounting screws must
be anchored to solid wood.
Step 3
Lay the chassis on top of a plywood board (19 x 19 x 1/2 inch minimum, not supplied).
Using the chassis as a pattern, mark or drill the wall-mount screw locations on the board.
To make inserting the screws easier, drill the screw locations before you mount the chassis.
To safely accommodate variations in interior wall construction, locate the wall studs (2 x 4"
Step 4
boards inside a building's walls, commonly spaced 16 inches apart) and attach the plywood
board securely to the wall, nailing the board to the studs.
Step 5
Start the two screws that will be used to fasten the bottom bracket in their places on the
bottom of the board, leaving at least 1/4 inch of each screw exposed.
Insert the lower bracket into the two wood screws you just placed on the piece of plywood
Step 6
(see Figure 14 or Figure 15). While continuing to support the chassis shell, insert one wood
screw through the top wall-mount bracket to hold the chassis in place. Follow this by
inserting the second wood screw into the top wall-mount bracket.
Step 7
Tighten all wood screws.
Step 8
Reinsert the component tray into the shell.
Step 9
Push on the back of the tray while at the same time pressing on the chassis release screw
(shown in Figure 2 and Figure 3) with the thumb of your right hand.
Retighten the chassis release screw.
Step 10
This completes the wall-mount procedure.
Mounting the Chassis Shell on a Wall
Cisco 4000 Series Rack-Mount and Wall-Mount Installation
17
