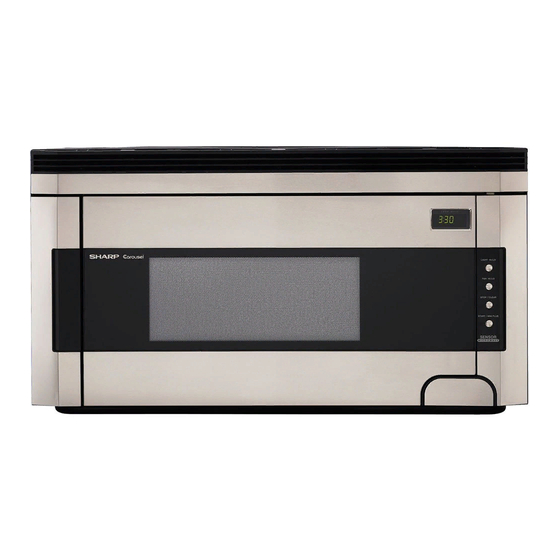
Sharp Carousel R-1510 Manual de instruções de instalação - Página 8
Procurar online ou descarregar pdf Manual de instruções de instalação para Forno micro-ondas Sharp Carousel R-1510. Sharp Carousel R-1510 9 páginas. Over the range microwave oven
Também para Sharp Carousel R-1510: Brochura e especificações (8 páginas), Manual de instruções de instalação (40 páginas), Manual de serviço (32 páginas), Manual (40 páginas)

MOUNTING OVEN TO THE WALL
Two people are recommended to attach the Microwave Oven/Hood to the
Mounting Plate.
1. Thread the Power Supply Cord through the hole made in the bottom of
the top cabinet. Install the oven by snapping it onto the Mounting Plate.
See Figure 23.
2. Use two Tapping Screws 5 to secure the levers that are on the bottom
of the oven. See Figure 24.
3. Use two Top Cabinet Screws 3 and two Flat Washers 6, supplied
in the INSTALLATION HARDWARE, to attach the unit to the top
cabinet. See Figure 25.
4. Make a bundle of the Power Supply Cord and attach it to the inside of
the cabinet using the Power Cord Hanger 4. See Figure 25.
Figure 24
CHECKLIST FOR INSTALLATION
1. Make sure the unit has been installed according to all of
the Installation Instructions, the Top Template and Wall
Template.
2. Remove all packing material from the oven.
ACCESSORIES
Check with your dealer or order directly from the SHARP Accessories and Supplies Center. Call toll-free 1-800-642-2122.
1. CHARCOAL FILTER (RK-240). Filter is used when hood exhaust is recirculated only.
2. FILLER PANEL KIT. This is available for use when the oven is installed in a 36" or 42" wide opening. The metal filler panels come
in 3-inch wide pairs. One set is needed for a 36-inch opening and 2 sets for a 42-inch opening. For information and to purchase
contact:
MODERN-AIRE VENTILATING CORPORATION
7319 Lankershim Blvd.
North Hollywood, CA 91605
Phone: (818) 765-9870 • Fax: (818) 765-4916
5
5
SHARP ELECTRONICS CORPORATION
Sharp Plaza, Mahwah, New Jersey 07430-2135
Figure 23
Figure 25
3
6
3. Plug in the power cord.
4. Read the Operation Manual.
5. Keep the Installation Instructions for the local electrical
inspector's use.
8
4
TINSEB283MRR0-A
Printed in U.S.A.
