Digital Acoustics IP7-SS40 Manual de referência - Página 16
Procurar online ou descarregar pdf Manual de referência para Amplificador Digital Acoustics IP7-SS40. Digital Acoustics IP7-SS40 20 páginas. Audio transformer
Também para Digital Acoustics IP7-SS40: Instruções de instalação (2 páginas)
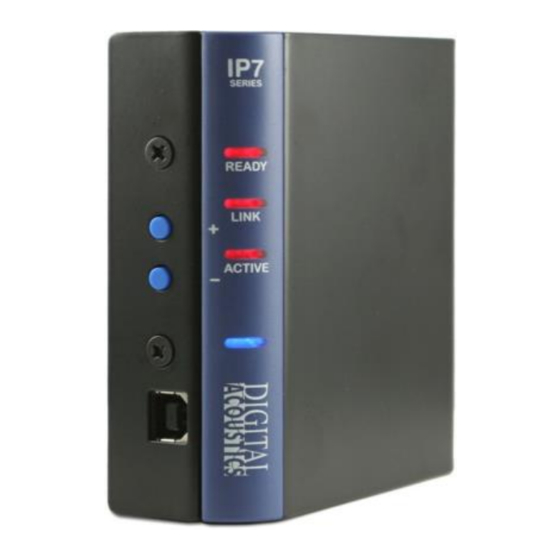
Troubleshooting
Always refer the LED Indicator table when troubleshooting the IP7-
SS40.
Reset to Factory Defaults
The IP Address information and all options can be reset to factory
defaults by the following procedure:
Unplug the Power
Press and hold the "Vol +" and "Vol -" buttons
Power the unit
Wait till the unit plays a 3 tone beep (about 5 seconds)
Release the "Vol +" and "Vol -" buttons
Refer to the software manuals for instructions on setting the IP
address information
Connecting 1/8" (3.5mm) Audio Plug to the Pluggable connectors
To connect Line Out to the pluggable connectors via a 1/8" audio
connector, the audio plug should be wired as follows:
The Tip should be wired to J2-3 (Line Out)
The Sleeve should be wired J2-4 (GND)
On stereo plugs, the Ring should not be connected to the IP7
Reducing electrical noise in audio
Improper wiring can cause noisy audio when transmitting microphone
audio from the SS40. To minimize the possibility of this:
Locate the unit at least one meter away from transformers,
stepper motors or other noise producing equipment
Do not run audio cable in the same conduit with AC power
Attached J3-7 to an earth ground
Viewing tech support info via the USB port
If requested by Digital Acoustics Support, a USB cable can be attached
to the IP7-SS40 to capture additional information.
Attach a USB cable to the USB-B connector on the unit.
Attach the other end of the cable to a PC running Windows®.
If an "Install Hardware" prompt is displayed, insert the TM CD
that came with the product and install the USB Virtual Com port.
13