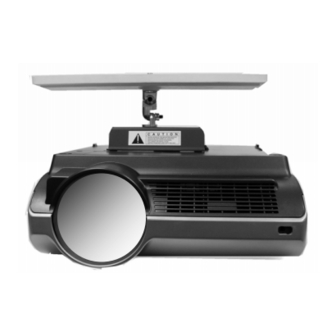
Sharp XG-PH50X - XGA DLP Projector Manual de instruções de instalação - Página 7

Procurar online ou descarregar pdf Manual de instruções de instalação para Projetor Sharp XG-PH50X - XGA DLP Projector. Sharp XG-PH50X - XGA DLP Projector 13 páginas. Xga native resolution system integration/large venue projector
Também para Sharp XG-PH50X - XGA DLP Projector: Manual de instalação (2 páginas), Manual de operação (20 páginas), Especificações (2 páginas), Brochura e especificações (4 páginas), Folha de referência de início rápido (6 páginas)

Sharp XG-PH50X - XGA DLP Projector Manual de instruções de instalação
INSTALLATION INSTRUCTIONS
STEP 5 ATTACH THE POSITIONING ASSEMBLY TO THE CEILING PLATE
FIGURE 8
IF YOU INTEND TO RUN AUDIO OR VIDEO CABLES THROUGH THE CEILING PLATE
PROCEED WITH STEP 5.1 AND 5.2, OTHERWISE PROCEED TO STEP 5.3:
5.1
Cut opening in the ceiling plate trim cover as indicated on the label inside cover near
the center bushing.
5.2
Thread cables through the plastic trim cover.
5.3
Place the plastic trim cover in position over the ceiling plate and press the Velcro
tabs together.
5.4
After completing step #3, screw the longer shaft with the locking nut and washer
into the center threaded bushing on the ceiling plate as far as it will go. (See Fig. 8)
5.5
Tighten the locking nut against the ceiling plate using a 3/4" open end wrench or an
crescent wrench.
DO NOT RUN THE AC POWER CORD INSIDE THE PLASTIC TRIM COVER.
ALL WIRING MUST COMPLY WITH THE NEC AND ALL LOCAL BUILDING,
ELECTRIC, AND SAFETY CODES.
CEILING BRACKET AN-PHCM20
WASHER
LOCKING NUT
UPPER KNUCKLE
PAGE 7
adjustable