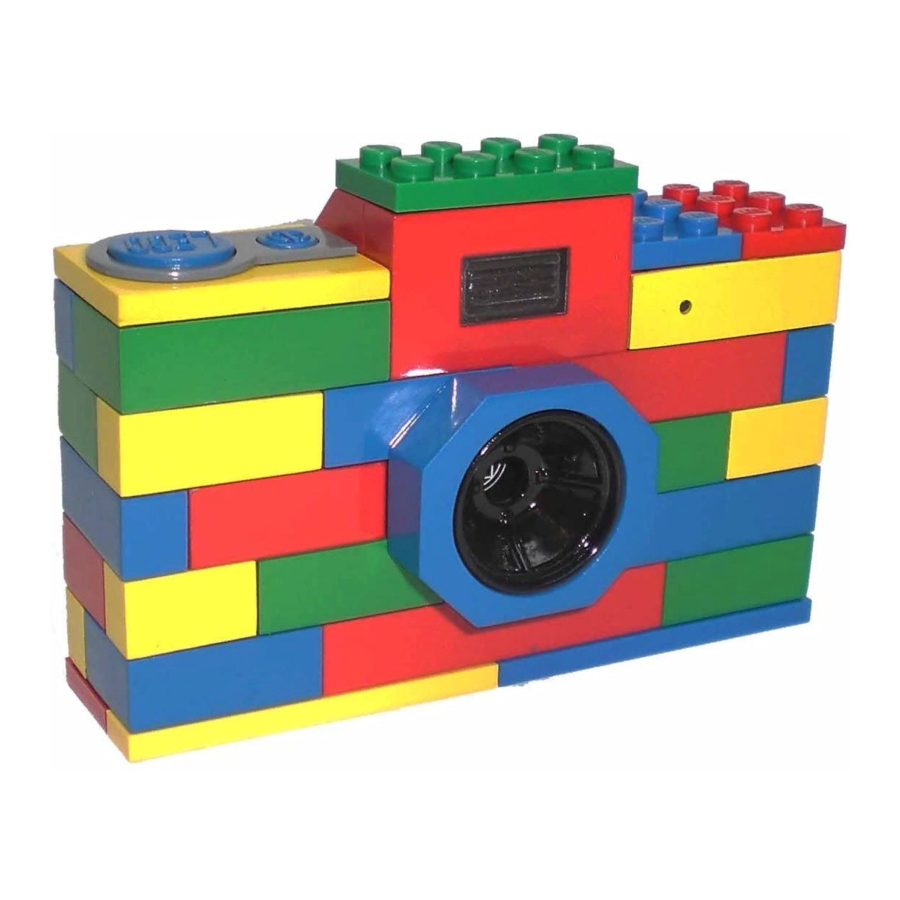
Digital Blue LEGO Instruções
Procurar online ou descarregar pdf Instruções para Câmara digital Digital Blue LEGO. Digital Blue LEGO 2 páginas.

Digital Camera
GETTING STARTED
Congratulations on purchasing your LEGO Digital Camera! This guide will help you learn
all the cool features of your LEGO camera.
POWERING THE CAMERA
Your LEGO camera is powered by an internal lithium-ion battery. You will need to fully
charge your battery before you use the camera the first time.
TO CHARGE THE CAMERA'S BATTERY:
Plug the camera into your computer with the provided USB cable. Your camera will begin
to charge automatically.
CAMERA COMPONENTS
FRONT OF CAMERA
2.
1.
1. Capture Button - Use to take digital photos.
2. Power Button - Press to turn the camera on.
3. Flash - Use the Flash in low light situations or to highlight the subject of your photo.
4. LED Status - Flashes to let you know when you have successfully taken a picture.
5.
Camera Lens - Make sure to keep the camera lens clean and clear when taking photos.
BACK OF CAMERA
6.
7.
8.
6. USB Port - Plug the provided USB cable in here to connect the camera to your
computer to download your photos.
7. Reset Button - Use to reboot the camera.
8. Display Screen - Use to preview your shots, review photos you've taken, and to
show information about your camera.
9. Left Button - Use to scroll back through photos in Playback mode and to enter
Playback mode.
10. Delete Button - Use to delete one or several photos from the camera.
11. Right Button - Use to scroll forward through photos in Playback mode and to
enter Playback mode.
12. Flash Button - Use to change the Flash settings.
3.
4.
5.
12.
11.
9.
10.
CAMERA DISPLAY SCREEN
The camera's Display Screen provides information about your camera settings.
Battery
Status Icon
Flash - Indicates whether the Flash is Charging, on Auto, Always On, or Off. (See the
"Using the Flash" section to see the various flash setting icons.)
Picture Counter - Shows the estimated amount of images you are still able to take.
Battery Status Icon - Shows how much battery life the camera has left. When the
Empty image appears, make sure to recharge your camera.
Full =
Medium =
Low =
CAMERA MODES
Your LEGO camera has 2 modes: CAPTURE, which you use to take photos, and PLAY-
BACK, which allows you to view and delete photos you have taken with the camera.
CAMERA MEMORY
Your LEGO camera stores photos to its internal memory. Your camera has enough
memory to capture up to 80 photos.
TAKING PHOTOS WITH YOUR CAMERA
Taking photos with your camera is a fun way to share memories with your friends and
family!
TO TAKE PHOTOS WITH THE CAMERA:
1.
Turn the camera on by pressing the Power button and wait until the preview is on the
Display Screen.
2.
Use the Display Screen to locate the subject of your photo.
3.
Press the Capture button located on the top of the camera to take the photo.
NOTE: The counter on the display will decrease by one each time you take a photo until
the memory is full.
USING THE FLASH
It is best to use the camera flash in low-light situations or when you want to make the
subject of your photo stand out. The camera has three flash settings.
Flash On - When you turn the flash on, the camera's flash will illuminate
your subject each time you take a photo. Select Flash On when you are
taking pictures indoors or in low light conditions.
Flash Off - When you turn the flash off, the flash will not illuminate
your subject. Select Flash Off when you are trying to conserve your
battery or in well-lit situations - like the beach!
Auto Flash - Use the Auto Flash setting when light conditions are
changing. The camera will determine if it needs the flash or not.
Flash Charging - This icon will display if the flash is charging. You will
not be able to take a picture until this icon disappears if your camera is
set to Flash On.
TO CHANGE THE FLASH SETTING:
1.
Turn the camera on by pressing the Power button.
2.
Press the Flash button to scroll through the settings, until you find the setting you
want. The flash icon for the setting you are in will display on the Display Screen.
3.
Now you are ready to take a photo!
NOTE: When the flash is set to Flash On, it may take a few seconds between pictures
for the flash to recharge. The Flash Charging icon will appear on the Display Screen until
the flash is ready for use.
REVIEWING PHOTOS ON THE CAMERA
See your photos instantly by reviewing them on the Display Screen in Playback mode!
TO REVIEW YOUR PHOTOS:
1.
Turn the camera on by pressing the Power button.
◄
►
2.
Press
or
to enter Playback mode.
◄
3.
Scroll through your photos using
and
4. The picture counter on the Display Screen will show the number of the photo you are
viewing.
Picture
Counter
Empty =
►
.
(continued on page 2)
