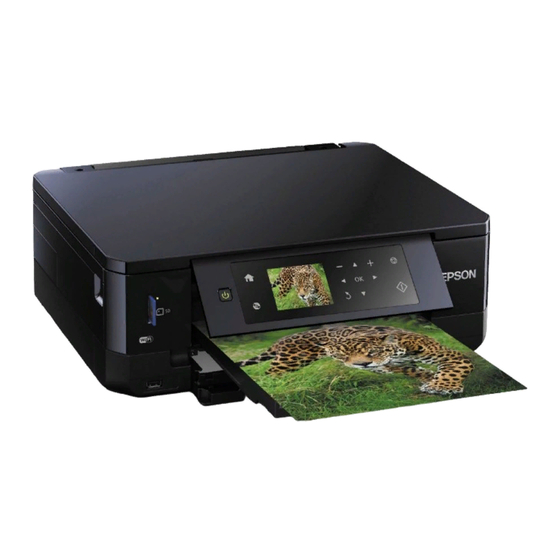
Epson XP-640 small-in-one Começar aqui - Página 2
Procurar online ou descarregar pdf Começar aqui para Impressora Epson XP-640 small-in-one. Epson XP-640 small-in-one 4 páginas.
Também para Epson XP-640 small-in-one: Manual rápido (17 páginas)
3
Unpack the ink cartridges.
Caution:
Do not touch the areas shown below. Doing so may
prevent normal operation and printing.
4
Remove the cap from each ink cartridge. Store the caps in
the included plastic bag.
Note:
Save the caps and use them to recap the ink cartridges
after removing them for storage or disposal.
5
Insert the cartridges at an angle in the holder for each
color. Press each cartridge down until it clicks.
6
Lower the scanner unit.
7
The printer starts charging the ink. Ink charging takes
approximately 7 minutes. When you see a completion
message on the printer's LCD screen, charging is
complete.
Caution:
Don't turn off the printer or raise the scanner unit while
the printer is charging or you'll waste ink.
Note:
• The printer is designed for use with Epson
third-party cartridges or ink.
• The cartridges included with the printer are designed for
printer set up and not for resale. After some ink is used for
charging, the rest is available for printing.
cartridges only, not
®
4
Load paper
See the online User's Guide for information about available
paper types, sizes, loading capacity, and loading
CD/DVD/Blu-ray™ discs.
Output tray
Cassette 1
You can load the following paper sizes:
• Cassette 1: 3.5 × 5-, 4 × 6-, or 5 × 7-inch photo paper
• Cassette 2: Letter-size, A4-, legal-size, or 8 × 10-inch paper
See the instructions below for loading paper.
1
Lower the front cover and raise the control panel.
2
Pull out a paper cassette.
Cassette 1
3
Slide the side edge guides outward and set the front edge
guide to the paper size you are using.
Cassette 1
4
Insert the paper with the glossy or printable side
facedown.
Cassette 1
Note:
Make sure the paper is loaded against the front edge
guide and not sticking out from the end of the cassette.
5
Slide the side edge guides against the paper, but not too
tight. Make sure the paper is under the tabs on the side
edge guides.
Cassette 1
Cassette 2/front cover
Cassette 2
Cassette 2
Cassette 2
Cassette 2