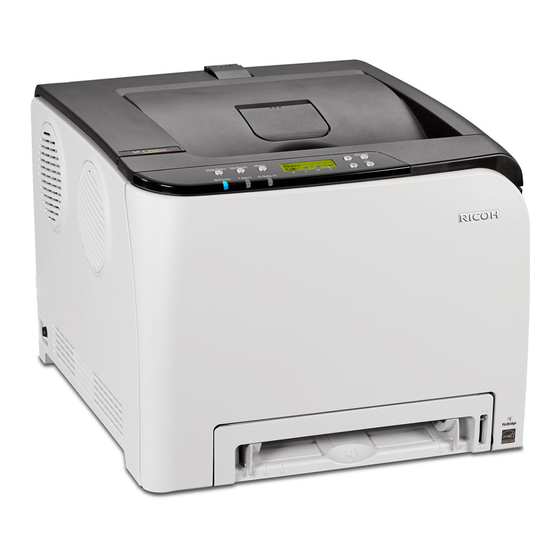
Ricoh SP C250DN Manual de iniciação - Página 39
Procurar online ou descarregar pdf Manual de iniciação para Impressora Ricoh SP C250DN. Ricoh SP C250DN 42 páginas. Color laser printers
Também para Ricoh SP C250DN: Especificações (4 páginas), Manual de Instruções (48 páginas)

8. Search SSID to display the list, select the destination SSID, and press [OK].
Note:
If you cannot find the destination SSID, configure the SSID according to the following procedure.
a. When entering the SSID, select [Input SSID], and press [OK].
b. Enter the SSID using the [
To go to the next character, press [OK].
•
Press [Escape] to clear all characters.
•
c. When finished, press [OK].
9. Select Authentication Method, and press [OK]. The next step differs depending on the selected method.
Proceed to associated Step 10, below.
Authentication Method
WPA2-PSK or Mix
Mode WPA2/WPA
Open System or
Shared Key
RICOH SP C250DN/SP C252DN Color Laser Printers
] and [
] keys.
10. Enter the Encryption Key (Passphrase) using the [] and [] keys, and
press [OK].
As the Passphrase, you can enter 8 – 64 hexadecimal digits (0-9, A-F,
•
a-f).
- To go to the next character, press [OK].
- Press [Escape] to clear all characters.
11. Press [OK]. Display reads: Connect? Yes/No. After connecting to the
network, the Wi-Fi screen displays.
12. Select [Wi-Fi-Status] and press [OK].
When Connected is displayed, the connection has been established.
•
When Disconnected is displayed, the connection has not been
•
established. Start again from the beginning.
13. Turn printer power switch Off. Wait a moment, and turn On.
14. Next, install Network Printer Driver. See
Install.
11. Enter the Encryption Key using the using the [] and [] keys, and
press [OK].
The maximum number of characters that can be entered in the
•
Encryption Key field depends on the encryption method settings. For
details about configuring these settings, see
Monitor.
To go to the next character, press [OK].
•
Press [Escape] to clear all characters.
•
12. Enter the ID using the [] and [] keys, and press [OK].
The ID is used for identifying the encryption key. You can register four
•
encryption keys (ID 1 to 4).
13. Press [OK].
14. Select [Wi-Fi-Status] and press [OK].
When Connected is displayed, the connection has been established.
•
When Disconnected is displayed, the connection has not been
•
established. Start again from the beginning.
15. Turn printer power switch Off. Wait a moment, and turn On.
16. Next, install Network Printer Driver. See
Install.
Getting Started Guide
Procedure
3.2 Network Printer Driver
Using Web Image
3.2 Network Printer Driver
39
