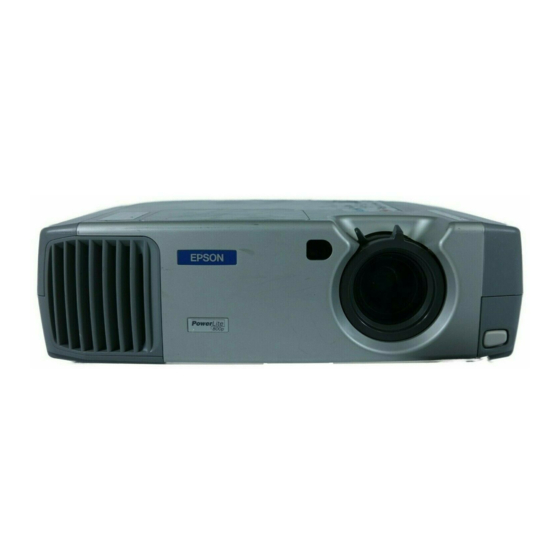
Epson LCD projector Manual - Página 9
Procurar online ou descarregar pdf Manual para Projetor Epson LCD projector. Epson LCD projector 11 páginas. Itrc guide

The Menu Settings
Press menu to display the 8 items of the menu screen.
• Video:
o Position: repositions the image
o Tracking: in analog computer images, removes unwanted vertical lines
o Sync: corrects fuzziness
o Brightness: lightens or darkens entire image
o Contrast: adjusts difference between light and dark areas
o Color: adjusts color intensity
o Tint: adjusts the balance of green to magenta
o Sharpness
o Color Mode: adjusts vividness of the image color
o Resolution: leave on auto unless the projector is unable to sync up with the
computer
o Video Signal: leave on auto
o Noise Reduction: reduces visual "noise" when using test and video images
• Audio: use to select audio source or adjust volume or balance
o Audio Input: Audio 1 selected for computer sound, Audio 2 for video sound, and
USB to amplify computer sound through USB cable
o Volume:
o Treble:
o Bass:
• Effect: add pointers and other annotations to the image. Effect customizes these.
o Pointer/Stamp: define shape and size for pointers
o Spotlight: choose large, medium, or small spotlight
o Bar: define color, width, horizontal/vertical for three different bars
o Pointer Speed: low, medium, high speed
• Setting: disable sleep mode, adjust image shape, customize features
o V and H-Keystone: correct shape of uneven image
o P in P: select source used by picture-in-picture
o No-Signal Msg: Select screen color to display when no signal is received by
projector
o Prompt: leave this ON.
o A/V Mute: Selects screen color or image when you press A/V Mute button
o Comp 1 Input: Select format for input to the Computer 1 port.
o Comp 2/YCbCr Input: Select format for input to Computer 2/Component Video
port
o Sleep Mode: Projector turns off lamp if no input received in 30 minutes: Turn on
or off.
• User's Logo: Transfer any image from computer or video source to the projector to use
as your startup screen
Page 9 of 10
Appendix A
Last Modified: 3/22/2010
