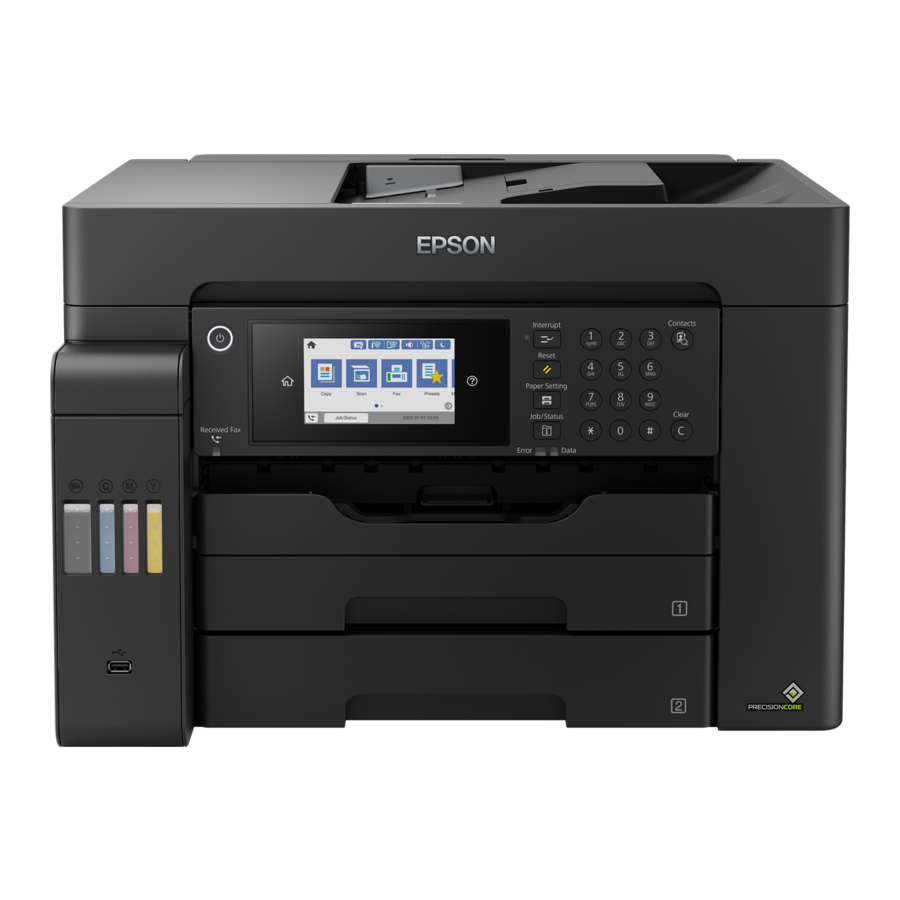
Epson ET-16600 Manual de início rápido - Página 2
Procurar online ou descarregar pdf Manual de início rápido para Impressora tudo em um Epson ET-16600. Epson ET-16600 4 páginas.

4
Wait for the ink to fill the tank. Do not squeeze the bottle.
Note:
If ink does not flow from the bottle, lift and reinsert the
bottle.
5
When the ink bottle is empty, remove the ink
bottle and replace the bottle cap.
Note:
Do not leave the ink bottle inserted;
otherwise the bottle may be damaged or ink
may leak.
6
Close the black ink tank cap.
7
Repeat the previous steps for the other colors.
8
Close the ink tank cover.
9
Connect the power cord to the back of the product and to
an electrical outlet.
Caution:
Do not connect to your computer yet.
10
Press the
power button to turn on the product.
Note:
If an error message appears, turn off the product and
check that no protective material has been left inside the product
and that the transportation lock is in the printing position.
11
Select your language, country, date, and time.
Note:
You can change these settings later using the product's
control panel. For more information, see the online User's Guide.
Follow steps 12 and 13 to continue ink charging.
12
When the message to see the Start Here sheet appears
on the LCD screen, press and hold OK for 5 seconds.
13
When the ink confirmation message appears on the LCD
screen, select Done to start charging the ink. Ink charging
takes approximately 9 minutes. A message appears when
ink charging is complete. Press OK to proceed with initial
setup.
Note:
Part of the ink from the included bottles is used for printer
setup. You will notice ink levels in the tanks decrease during
charging. This decrease is normal and does not affect the stated
in-box yields.
Caution:
Do not unplug or turn off the product, raise the
scanner unit, or load paper while the product is charging or you'll
waste ink.
3
Load paper
See the online User's Guide for information about loading
capacity, available paper types and sizes, loading envelopes,
and using the rear paper feed slot or ADF.
1
Make sure the
product is not
charging ink, then
pull out the paper
cassette.
2
Slide the side edge guides
all the way out.
