Cisco Telepresence MX800 Manual - Página 11

Procurar online ou descarregar pdf Manual para Sistema de conferência Cisco Telepresence MX800. Cisco Telepresence MX800 45 páginas. Wall-mounted mx800 single
Também para Cisco Telepresence MX800: Manual de início rápido (12 páginas), Manual de instalação (16 páginas), Manual de substituição (46 páginas), Manual de substituição (47 páginas), Manual de instalação (30 páginas), Peças de substituição (24 páginas), Manual de instalação (16 páginas), Manual de referência rápida (2 páginas), Manual (45 páginas), Manual de referência rápida (2 páginas), Manual de referência rápida (2 páginas), Manual de iniciação (46 páginas)
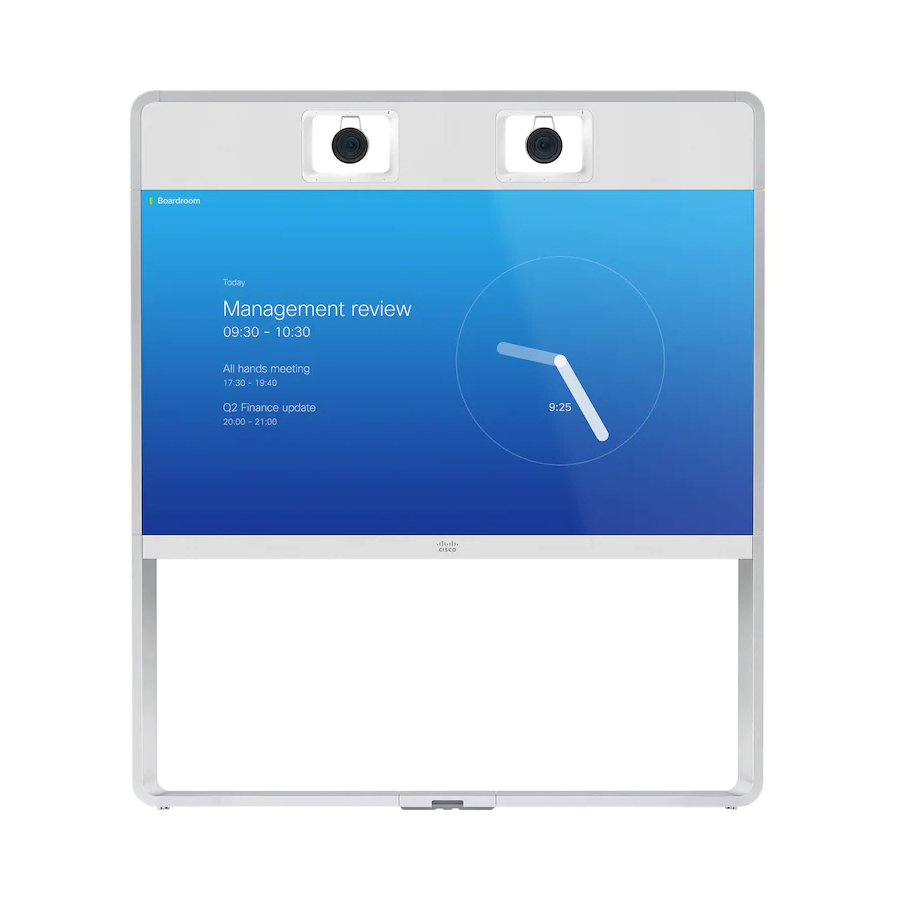
Cisco Telepresence MX800 Manual
1 Give the page a name
Table of contents
Click the page text, and enter a name.
Introduction
2 Give the row a name
Click the row text, and enter a name.
Create a user interface
3 Add widgets from the library
Drag and drop as many widgets as you need
API for in-room control
from the widget library onto a row.
4 Enter custom text on widgets
Widgets
Click the dummy-text on a button, group
button, or text field, and enter the appropriate
text.
Command reference
Troubleshooting
Tips and tricks
Examples
D15358.01 APRIL 2016
Collaboration Endpoint software
version 8.1
© 2016 Cisco Systems, Inc.
All rights reserved.
5 Define unique identifiers
Click the widget, and type unique identifiers in
the input fields that pops up below the design
panel. You can either use the pre-assigned
identifiers or define your own.
All widgets have a unique Widget ID. Only
Group buttons have Group IDs.
Read more about the identifiers in the
chapter.
6 Add more rows
Click
Repeat steps 2-5 for each row.
8
2
6
5
Widgets
+
to add a new row.
4
1
3
11
7 Add more pages
+
Click
to add a new page.
Repeat steps 1-6 for each page.
8 Choose an in-room control icon
Click
Settings
in the menu, and choose an in-
room control icon (entry icon).
The in-room control icon appears in the status
bar on Touch 10. When you tap the icon, the
in-room control panel opens.
Re-arrange elements
Drag a page, row, or widget, and drop it in its new
position. Drop it outside the design panel to delete it.
7