Cisco ATA 191 Manual do utilizador - Página 8

Procurar online ou descarregar pdf Manual do utilizador para Hardware de rede Cisco ATA 191. Cisco ATA 191 30 páginas. Analog telephone adapter
Também para Cisco ATA 191: Manual do utilizador (30 páginas), Manual de Administração (4 páginas), Manual do utilizador (10 páginas), Começar a trabalhar (8 páginas), Manual (10 páginas), Manual de início rápido (13 páginas), Manual de configuração (6 páginas), Manual do utilizador (40 páginas)
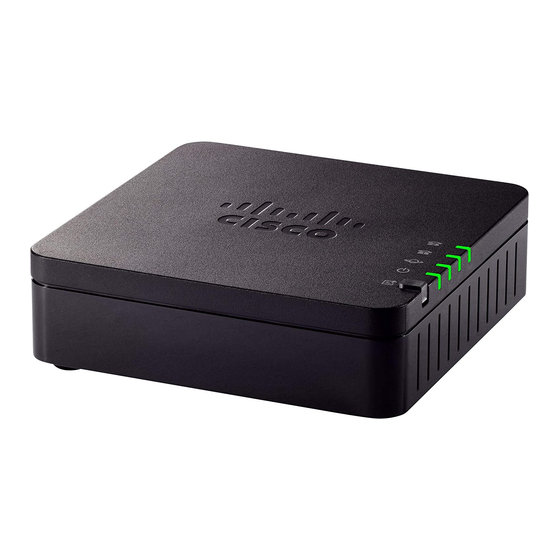
Cisco ATA 191 Manual do utilizador

Devices associated with your ATA

Table 2: ATA 191 Back Panel Ports
Port or Button
RESET
PHONE 1
PHONE 2
NETWORK
DC 5V POWER
Devices associated with your ATA
Use your ATA to connect these types of devices to your network:
• Analog phones
• Analog telephony voice devices
• Overhead paging systems
• Fax machines
Cisco ATA 191 Analog Telephone Adapter User Guide for Cisco Unified Communications Manager
4
• Analog phones have no softkeys.
• The information that analog phones display depends on the model you have.
• You use the phone's flash button for hold, resume, transfer, and conference.
• The ATA supports analog telephony voice devices, such as overhead paging adapters and answering
machines, that emulate a regular phone.
• Overhead paging systems provide alarms and public-address announcements in buildings.
• Use a fax machine directly with an ATA. Don't connect an extension to a fax machine, and don't
use the fax machine with a splitter.
• To reduce fax failures, use overseas mode, if available; if not, set the fax machine transmission
speed to low.
Description
To restart the ATA, use a paper clip or similar object to press this button
briefly.
To restore the factory default settings, press and hold for 10 seconds.
The LED behaviour for the factory reset:
1. After you press and hold the button for about 10 seconds, the Power
LED is fast flashing green.
2. After the factory reset is performed successfully, all LEDs are fast
flashing green for about 5 seconds.
Use an RJ-11 phone cable to connect an analog phone or fax machine.
Use an RJ-11 phone cable to connect a second analog phone or fax
machine.
Use an Ethernet cable to connect to the network.
Use the provided power adapter to connect to a power source.
Get Started with Your New ATA