DigiVac 200P/2c Manual de instruções - Página 4
Procurar online ou descarregar pdf Manual de instruções para Controlador DigiVac 200P/2c. DigiVac 200P/2c 10 páginas. Wide range thermocouple vacuum gauges and controllers

1.0
DESCRIPTION AND PRINCIPLE OF OPERATION
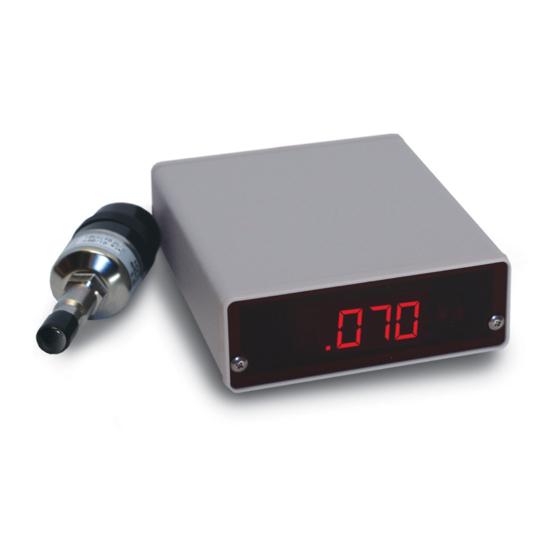
Digivac Model 200/200P/801W Wide Range Thermocouple Gauges
Benchtop/Panel Mount with optional controls and Rs232
Thank you for purchasing a DIGIVAC
gauges read from atmospheric pressure to full vacuum (0 microns) using a rugged, low
cost, thermocouple vacuum gauge tube.
The Model 200 is bench mounting while the Model 200P is designed for panel mounting in
customers' equipment.
The Model 200P requires a panel cutout 1.65" inches high by 3.65" inches wide. The gauge
is approximately 4.5" deep behind the panel. If panel depth is a problem, consider the
801W gauge which is only 1.5" deep and mounts neatly on panel doors.
The Model 801W is electrically identical to the other gauges, but is designed to be a bolt-in
replacement for Varian 801 and other panel mounting analog vacuum gauges. The Digivac
810-2 has the exact mounting dimensions of the Varian 810-2 gauge. These gauges may
also be ordered with a 4 bolt mounting pattern to directly replace Hastings gauges, while
still reading to atmosphere. To install these gauges, remove the front panel and install the
gauge from the rear.
Both gauges are also available with one or two control outputs. Either Model can also be
ordered with a serial port or an analog recorder output.
2.0
LIMITATIONS
These Digivac gauges use thermocouple technology. As such they have a very wide range
(six decades!) and reasonable accuracy.
Because they work on heat dissipation, they are dependent on the thermal conductivity of
the residual gasses.
Other Digivac gauges use transducer and capacitance manometer technology. These
gauges have a range of 0 to 760 torr and a resolution of 1 and 0.1 torr and an accuracy of
+/- 0.3% of full scale. At the low end they have a repeatability of +/- 1 torr. These gauges
are not dependent on gas composition. The tradeoff then is resolution and range against
accuracy.
3.0
MOUNTING INSTRUCTIONS FOR 801(W) AND DVG-6 SERIES GAUGES
The Digivac 801, 801w, Dvg-4, and Dvg-6 gauges mount in the same panel cutouts as the
respective Varian, Hastings, and Televac gauges they are replacing.
For new installations, proceed as follows:
Remove the front panel of the gauge, leaving the aluminum spacers on the
•
gauge printed circuit board.
Make a 2.66" circular mounting hole in the panel at the desired location
•
Make 3 of 4 holes, 5/32" diameter (clearance holes for #4 screws) on a 1.60 radius from
•
the center of the mounting hole.
(The front panel that comes with the gauge can be used as a template.)
Reassemble the gauge, with the plastic panel outside, and the gauge behind.
•
Digivac Dvg4 and Dvg6 gauges mount in a similar manner, except for having more
mounting holes.
™
200 or 801W series Digital Vacuum Gauge. These
4
