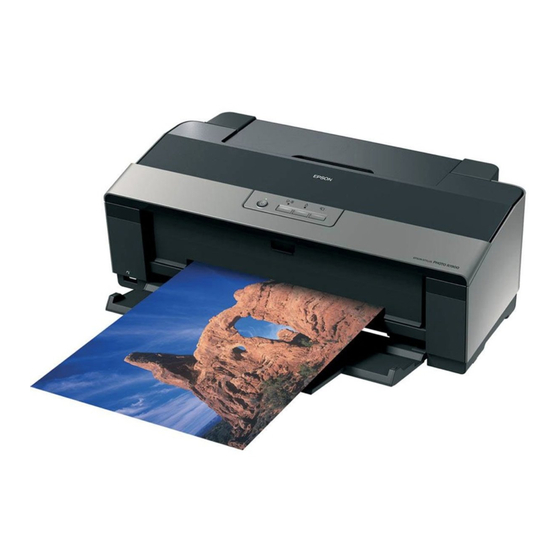
Epson R1900 - Stylus Photo Color Inkjet Printer Manual - Página 14
Procurar online ou descarregar pdf Manual para Acessórios para impressoras Epson R1900 - Stylus Photo Color Inkjet Printer. Epson R1900 - Stylus Photo Color Inkjet Printer 19 páginas. C11c698201
Também para Epson R1900 - Stylus Photo Color Inkjet Printer: Lista de peças (9 páginas), Manual Iniciar aqui (8 páginas)

Epson Stylus Photo R1900 Series
6. Before opening the cartridge package, shake the package
four or five times.
All the ink cartridges, except the gloss optimizer cartridge,
Note:
make a clicking sound when you shake them.
Caution:
Do not shake the cartridges after opening the
packages or ink will leak.
7. Remove the cartridge from the package, but be careful not
to touch the green chip on the cartridge.
8. Remove the yellow tape from the bottom of the cartridge.
Do not remove any other labels or seals, or ink will
Caution:
leak.
9. Insert the new cartridge into the holder and push it down
until it clicks into place.
Epson Stylus Photo R1900 Series
14 -
10. Once you replace all the necessary cartridges, close the
cartridge cover and push it down until it clicks into place.
11. Close the printer cover.
12. Press the
H
ink button to begin charging the ink. This takes
about 2 ½ minutes. The P power light flashes as the ink
charges.
When the P power light stops flashing and the
goes out, ink charging is finished.
Never turn off the printer while ink is charging or
Caution:
you'll waste ink.
H
If the
light is flashing, press the
ink
down all the cartridges securely.
If you remove a low or expended ink cartridge, you cannot
reinstall and use the cartridge.
Cleaning the Print Head
If your printouts become too light, or you see dark or light
bands across them, you may need to clean the print head
nozzles. Cleaning uses ink, so clean the nozzles only if print
quality declines.
You can check for clogged nozzles before you clean them so
you don't clean them unnecessarily.
It's best to run the automatic nozzle check and cleaning utility
first to let the printer check and clean the nozzles, if necessary.
If you still notice quality problems, you can check and clean
the nozzles manually.
Note:
You cannot clean the print head if an ink cartridge is low or
expended. You must replace the cartridge first.
11/07
H
ink light
H
button, then press
ink
