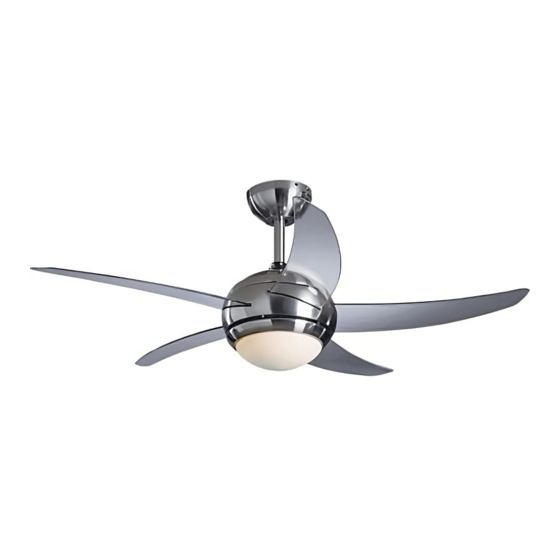
Argos Manhattan 432/5114 Instruções de montagem - Página 4
Procurar online ou descarregar pdf Instruções de montagem para Ventilador Argos Manhattan 432/5114. Argos Manhattan 432/5114 5 páginas. Remote control ceiling fan

TROUBLE SHOOTING
Fan will not start
CAUTION: Make sure mains power is switched off before you carry out these checks.
1. Check the main and branch circuit fuses or contact breakers.
2. Check power supply wires to the fan are secured.
3. Check reverse switch is firmly in the up or down position.
Fan sounds noisy
Allow a break-in period of 24 hours. Most noise associated with a new fan will disappear after this period.
1. Check to make sure all screws to the fan motor housing are secure but not overtight.
2. Check mounting plate screws are tight and securely fitted to ceiling joist or ceiling support.
3. Check that the screws which attach the blade holder arms are tight.
4. Check that the lamp and lamp shade are properly fitted to the lamp holder.
5. A dimmer switch should not be fitted to this ceiling fan. If this ceiling fan is connected to a dimmer switch it will make
noises when the fan light is switched off. Remove the dimmer switch.
Fan wobbles or shakes excessively
Please note that a small amount of wobble is natural and should not be considered a problem.
All blades are weighed and grouped by weight. Natural wood varies in density which could cause the fan to wobble
even though all blades are weight matched. The following procedure should eliminate most of the wobble. Check for
wobble after each step.
1. Check that fan blades are screwed firmly into the blade holder arms.
2. Check that all blade holder arms are tightened securely to the fan housing.
3. Most fan wobble problems are caused when blade tracking levels are unequal. Blade tracking may be checked
simply by use of a length of timber. Place the timber vertically against the ceiling and even with the outside leading
edge of the blade. Mark the distance from the edge of the blade to the ceiling. Turn the blades slowly by hand to check
the remaining blades. If a blade is not in alignment, the blade holder arm may be gently bent up or down to be in-line
with the other blades. Allow the fan to operate for ten minutes to check if this problem has been solved.
4. Make sure the mounting plate is securely fixed to the ceiling joist.
5. Check that the ball joint engages with the groove on the ceiling canopy.
DO
• Do ensure that the ceiling joist or ceiling support will holde the moving weight of the ceiling fan.
• Do ensure that all electrical connection are in accordance with relevant safety and government regulations.
• Do use or consult a qualified electrician if you are uncertain about wiring this ceiling fan.
• Do use a qualified electrician for installation to a concrete ceiling.
• Do switch off the fan before using the reverse switch.
DON'T
• Don't use the ceiling fan and open gas heating appliances in the same room at the same time, otherwise harmful
gases might be circulated.
• Don't fit in rooms where the distance between floor and blades is less than 2.3m (7½ft). Allow at least 500mm between
the blade tip and any wall or fumishings.
• Don't fit in bathrooms or areas where the fan might become wet.
• Don't insert anything into the fan blades when they are rotating.
• Don't use a dimmer switch with this ceiling fan. This could damage the dimmer and the fan.
• Don't use this fan with any speed control device as it could be a fire risk.
• Don't use the ceiling fan for any other purpose than described in this instruction sheet.
• Don't modify or alter the ceiling fan.
IF IN ANY DOUBT CONSULT A QUALIFIED ELECTRICIAN.
SPECIFICATIONS
Fan 45W Light fitting 1 X 40W. Total 85W. 230~50Hz.
REPAIRS
Do not attempt to repair this unit yourself repairs can only be made by qualified service personnel. Repairs by
unqualified persons will invalidate the guarantee, and may result in accident or injury.
WASTER ELECTRICAL PRODUCTS SHOULD NOT BE DISPOSED OF WITH HOUSEHOLD WASTE.
PLEASE RECYCLE WHERE FACILITIES EXIST. CHECK WITH YOUR LOCAL AUTHORITY FOR RECYCLING
ADVICE.
ASSEMBLY & FITTING INSTRUCTIONS
reference
