Motorola MBP160-2 Manual de início rápido
Procurar online ou descarregar pdf Manual de início rápido para Monitor de bebé Motorola MBP160-2. Motorola MBP160-2 2 páginas. Digital audio baby monitor
Também para Motorola MBP160-2: Manual do utilizador (23 páginas), Manual de início rápido (2 páginas), Manual do utilizador (23 páginas), Manual de início rápido (15 páginas)
MODELS:
MBP160
MBP160-2
WARNING:
Strangulation Hazard. Children
have STRANGLED in cords. Keep
this cord out of the reach of
children (more than 1m away).
Never use extension cords with
AC Adapters. Only use the AC
Adapters provided.
QUICK START GUIDE
For a full explanation of all features and instructions, please refer to the User's Guide.
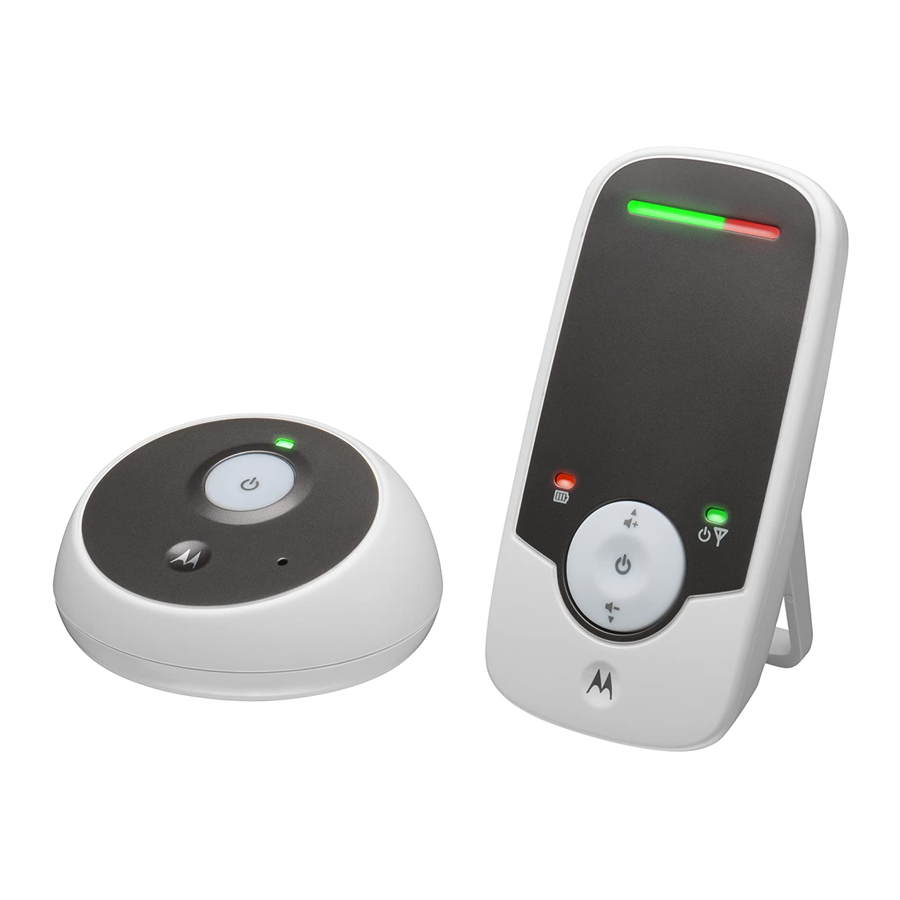
1. Setting up your Digital Audio Baby Monitor
A. Baby unit power supply
DC JACK
DC PLUG
C. Desktop stand on parent unit
B. Parent unit battery installation and power supply
1. Insert the DC plug of
the power adapter
with the bigger DC
plug into the DC jack
on the back of the
baby unit, as shown.
2. Connect the other
end of the power
adapter to a suitable
mains power.
DC JACK
The parent unit comes with a desktop stand attached to the back of the unit. To place the
parent unit on a desk, simply pull out the stand, as shown.
NOTE
Place the parent unit on a flat, even surface.
The rechargeable battery pack supplied should be
installed so that the Parent Unit can be moved without
THIS SIDE UP
losing the link with the Baby Unit(s). Charge the parent
unit before using it for the first time or when the parent
unit indicates that battery is low.
1. Slide off the battery compartment cover.
2. Insert the plug of the rechargeable battery pack into
the jack inside the battery compartment.
3. Fit the battery pack into the compartment, with the
label THIS SIDE UP facing up.
4. Slide the battery compartment cover back until it
clicks into place.
5. Insert the DC plug of the power adapter with the
smaller DC plug into the DC jack on the side of the
parent unit.
6. Connect the other end of the power adapter to a
suitable mains power.
DC PLUG
7. The charging indicator comes on.
UK EN