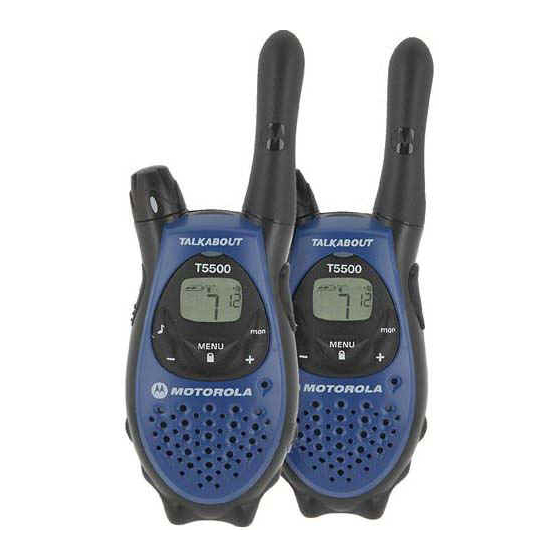
Motorola TALKABOUT T5500 Manual de Comunicações - Página 4
Procurar online ou descarregar pdf Manual de Comunicações para Rádio Motorola TALKABOUT T5500. Motorola TALKABOUT T5500 16 páginas. Frs/gmrs recreational two-way radios
Também para Motorola TALKABOUT T5500: Manual do utilizador (36 páginas), Manual do utilizador (17 páginas), Manual do utilizador (5 páginas)

2) Battery Packs and Batteries
Types
Most FRS radios come with "battery packs" which contain rechargeable batteries that can
be used over and over again. They are usually charged up by using a tabletop charging
stand which comes in the bubble pack. With most of these radios you can remove the
battery pack and substitute regular alkaline batteries, either AA or AAA size; be sure to
check which before you buy extras and always get alkaline, not heavy duty. Always
remove batteries from a radio which will not be used again for more than 6 months.
Batteries are marked with plus (+) and minus (-) ends. The plus end has a small bump
and the minus end is flat. It is essential to look carefully to be sure that they go in the
correct way as shown by the + and – in the battery receptacle.
Charging a rechargeable battery pack
Most radios just drop in to the table top charger with the radio's battery pack inside. The
radios need to slip all the way in to make contact with the charging terminals. If they
don't slip all the way in and turn on the "charging" light, you may have them in front-to-
back. For some FRS radios you need to un-snap the latch and remove the battery cover
(usually on the back). If the re-chargeable batteries are individual batteries, they need to
be inserted into a battery charger for single batteries. Do not leave your radio in the
charger for more than 8 hours. It will slightly damage the batteries if they are left in the
charger for long periods.
.
Extending battery life
Always turn your radio completely off when not using it (don't just turn down the
volume). Limit transmissions to essential exchanges. Just in case your batteries go dead
be sure to carry plenty of spare batteries with you. Remove batteries for extended radio
storage (more than 6 months) to avoid leakage damage to your radio.
2) Volume (audio gain) control and On/Off switch.
There is usually a volume control knob which has a "detent" (a little bump-like feel)
which tells you when it is on or off. If there is no volume knob, you have to go into your
radio's menu and find the volume adjustment (sometimes called audio gain). The volume
should be a little on the loud side because it makes it easier to hear weak signals, but if
turn it way up it may cause distortion of the sound.
3) Changing and Setting Channels in Memory
Setting a channel
The usual procedure involves pressing your radio's MENU, MODE or SELECT button
which causes a large number in its LCD display window to blink. Then press the up (+)
or down (-) buttons and follow that channel number as seen in the window. On the most
common radios (Motorola, Midland, Cobra, etc.) the channels 1-14 may be used by
unlicensed operators as long as "low power"(0.5 watts or less) is used. Some "FRS
radios" have only these channels and only allow low power.
For disaster communication in the ASNC area, tune to FRS Channel 2 (Alternate: Ch 12)
Ham Radio Operators should also tune to Battalion 2 simplex 145.585 MHz, PL 110.9
4
