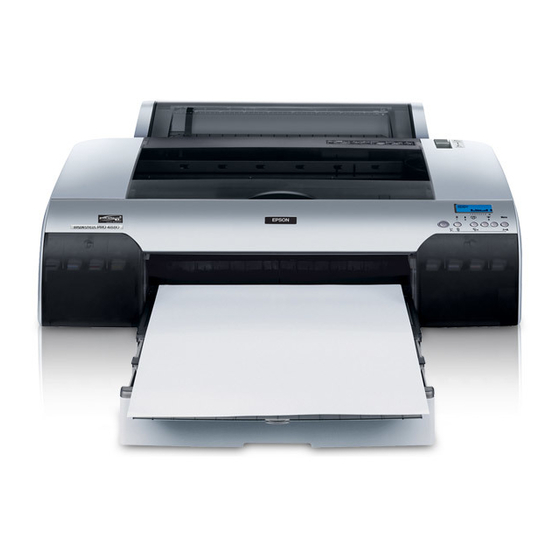
Ink Fill and Use Instructions for the Refillable Cartridge System for Epson™
The instructions below describe how to fill and use refillable cartridges, in general terms. Color managed work flows are not discussed here, nor are
instructions for using Piezography inks. Filling and using these cartridges is easy, provided you are prepared before you begin and follow the
instructions below. A one liter ink bottle contains enough ink to fill a cartridge about four times, the 16oz bottles will fill a cartridge about two times
and 8oz bottle is enough ink to fill a cartridge once. Additional bottles of ink are available from www.inkjetmall.com. For further information on
ConeColor inks, visit www.conecolor.com. An info sheet for ConeColor and Piezography K7 ink use is located at the end of these instructions, please
refer to it before filling the cartridges with ink.
Background Information to Read Before Beginning:
Cartridges are sold individually, as sets and with ink bottles. Refer to the item description to know what is included with the specific item you
purchased.
1. Before beginning, make sure to have the following items on hand:
Ink bottle(s), which can be ordered from www.inkjetmall.com.
•
Empty refillable cartridge(s). Each cartridge must have a dual fill/air vent plug on the top and chip attached.
•
Funnel(s) for filling and refilling cartridges with ink.
•
A pair of thin rubber gloves to wear when filling or refilling cartridges.
•
A 10ml syringe and priming tip to prime cartridge exit channel with ink before installing into the printer.
•
A table or work surface large enough to hold all cartridges and ink bottles. If you wish, cover the table with newspapers or a plastic
•
sheet to protect it from ink spills.
Work near a sink for easy cleanup.
•
A roll of paper towels.
•
A bottle of Windex or other glass cleaner.
•
Printer: before you begin, verify that all positions in the nozzle check pattern are fully printing and your printer is in perfect
•
working order. Fix any printing related problems before proceeding.
A chip resetter is needed when a cartridge reads empty to make it read full again- but is NOT necessary when installing new
•
cartridges. Chip resetters are available from Inkjetmall.
2. Treating and avoiding ink spills:
If you spill ink, wipe it up as quickly as possible. Blot up ink with paper towels, then spray glass cleaner and wipe the surface with a
•
paper towel.
Ink spilled on clothing or other fabric, on carpets or on porous surfaces like wood or unglazed ceramic tiles will likely cause
•
permanent stains. Keep this in mind as you choose the workspace area and clothing you wear.
If you spill ink on the outside of a cartridge during filling, wipe the ink off with a paper towel, rather than rinsing it off, to avoid
•
getting water into the cartridge.
If you spill ink on your skin it will temporarily stain. Clean the ink off with water and an abrasive soap, such as "Lava" soap or with
•
regular soap using a rough sponge. Thin rubber gloves are recommended when filling ink cartridges because accidents can happen.
Procedure for Filling Cartridges:
1. If you are filling cartridges for the first time, unwrap them and inspect them for damage. Contact Inkjetmall if you suspect a cartridge is
damaged. Make sure the chip is attached flat and straight on each cartridge. Also, make sure there is a plug in the fill and air vent holes
on top of each cartridge. If not, please check inside the cartridge wrapping before you discard it. Verify you have the correct black ink
cartridge necessary for the Photo or Matte black ink you will be using. For Piezography inks, you can use whichever black cartridge that your
printer is currently using to avoid having to do the "black ink change" procedure. NOTE: the Matte Black cartridge number ends in "8" and
the Photo Black cartridge number ends in "1".
2. Arrange the ink bottles on your work surface. Do not open them yet. For ConeColor, make sure that you have the correct type of black ink
you want to use, either Matte or Photo Black. For Piezography ink, make sure to know what shade ink to pour into which color position
cartridge- an info sheet that explains shade placement can be found on page 2. For Piezography ink users, we recommend writing the shade #
on each cartridge by following the shade placement chart- this will make for easy refilling in the future and avoid accidental ink mixing.
3. Place the cartridge upright and remove the silicone plug from the filling hole on top. Select the correct bottle of ink for the cartridge, and shake
it gently. Unscrew the cap, and if it is a new liter bottle, cut the foil seal from the bottle neck using a razor blade or knife. Cut away as much
of this seal as possible so the ink will not splash as you pour. Carefully clean residual ink from your knife blade before using it on a different
bottle of ink so as not to mix ink.
4. Put on your gloves.
5. Insert funnel into the cartridge fill hole. Support the funnel and the cartridge with one hand. Pour ink with the other.
6. Fill the cartridge until the ink level reaches the "Max" line on the end of the cartridge. If your cartridge doesn't have a "Max" line, keep the
ink level about 1/2" from the top of the cartridge. Do not add more ink than this, as it may cause problems during printing.
11/21/2016
4800 & 4880 Printers
© Vermont PhotoInkjet
Insert# 101
Page ! of !
1
5

