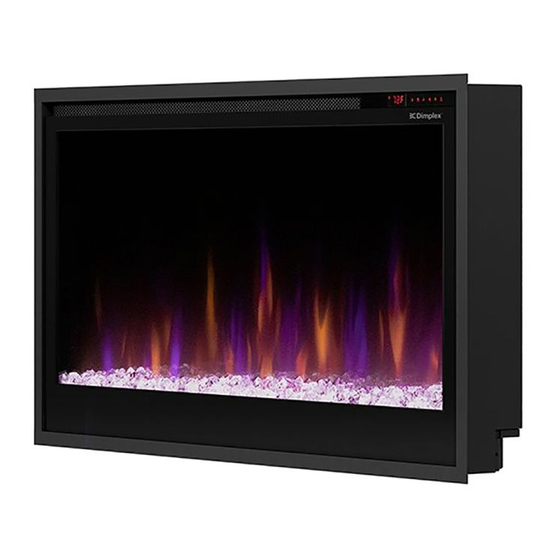
Dimplex 6910470300 Manual de serviço - Página 14
Procurar online ou descarregar pdf Manual de serviço para Lareira de interior Dimplex 6910470300. Dimplex 6910470300 17 páginas.

Flame LED Replacement
Tools Required: Phillips Head Screwdriver
Pliers
1. Follow the instructions for Preparing the Firebox for Service on page 6.
2. Remove the 2 screws on each side of the bottom panel (4 total). Disconnect the LED connection, and set the bottom
panel aside. (Figure 17, page 13)
3. Carefully flex the flicker rod to disconnect it from the right side. Pull each of the center collars forward to release
flicker rod, and pull it out of the left side bracket. (Figure 20)
4. Using pliers, pinch each of the rivets while gently pulling the defective board forward to release it. (Figure 21)
5. Disconnect the connector(s) from the defective board.
6. Correctly orient the new board, ensuring that the J1 inscription is oriented toward the right, and connect the
connector(s).
7. Secure the new board by positioning its holes over the rivets.
8. Install the flicker rod by inserting the left side first, then the center brackets, and finally gently flex it to connect the
rubber sleeve to the flicker motor stick.
9. Secure the previously bundled wires using the previously removed rubber sleeve and the provided wire ties.
10. Secure the bottom panel, ensuring that the LED is reconnected through through the square opening.
11. Reassemble firebox.
Use pliers to pinch
standoffs to allow for
removal of LED board
14
Figure 20
Remove left side last
Figure 21
Pull rod outward
Remove right
side first
www.dimplex.com
